Creating a New Avatar
Version v0.13 simplified the Avatar creation process. If you have an older kemorig version, follow the old guide here: link
This page walks you through the process of creating a new kemorig Avatar.
Once you’ve completed the Editor Setup guide and have the editor project open, you’re ready to get started.
Reminder: Author Inside Your Plugin
![]()
Remember that All content you author for kemorig must be within your own plugin. You should have created a plugin at the end of the Editor Setup guide.
Locate your Plugin’s content folder in the Content Browser (this is where you will be importing your model).
Import and Set Up Your Avatar’s Model
In order to create an Avatar, you need a 3D model of your character. You will need it exported from your 3D Program of choice as an FBX file, which you will then import into Unreal.
![]()
For more information on importing models see this guide:

Importing Models (FBX)
Tips on importing models into Unreal
Where to Import
You can import your model into any folder inside your plugin.
If you want to keep your model files organized with your Avatar, in a later step the New Avatar Tool can automatically move your model into the Avatar folder that will be created.
If you want to, you can create the folders ahead of time. The recommended subdirectory for your model files is:
[YourPlugin]/Avatars/[AvatarName]/Model/
![]()
Run the New Avatar Tool
In the Editor, open Kemorig Tools.
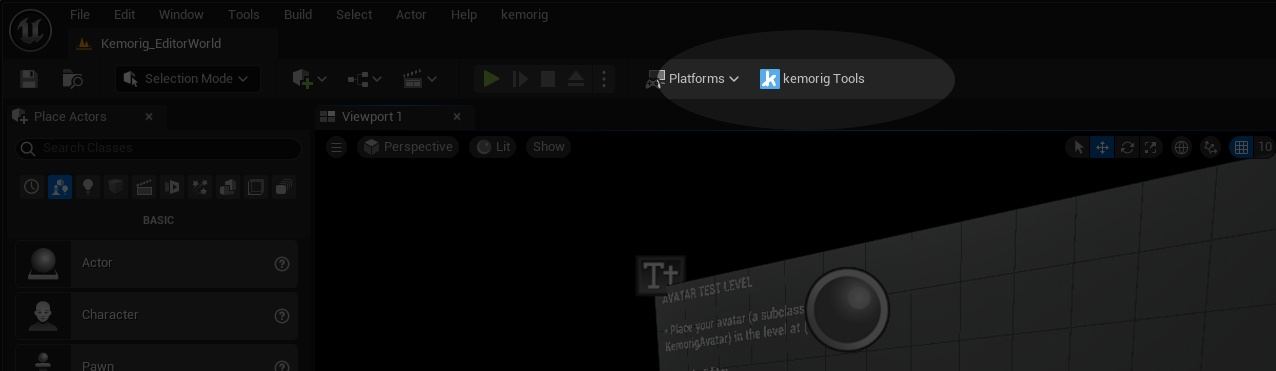
Make sure that your plugin is selected in the top of the Kemorig Tools window.
Then in the Create tab, run the New Avatar Tool.
![]()
The New Avatar Tool will guide you, create all the assets you need automatically, and ask you to verify some auto-detected information about your model.
![]()
Your Avatar’s New Assets
After completing the New Avatar Tool, you will have a suite of new assets making up your Avatar
![]()
Here is a summary of what each asset is for:
Avatar Blueprint
This is the heart of your Avatar, and what is spawned in the world when using it. This Blueprint references many of the other assets below.
When adding features to your Avatar, this is often the asset to do it in.
For example: if you wanted to throw props at your Avatar you could add a Prop Thrower component and control it with Blueprint nodes.
Avatar Description
Contains meta-data about your Avatar, like its name, what icon to display in menus, etc.
Anim Blueprint
This is where your character model's pose is calculated.
Every frame, the Anim Graph inside this asset processes tracking information and/or animations to pose the model.
The Anim Graph contains the Kemorig Tracking node, which is where your model's bones are mapped to body parts, and all tracking motion happens.
Facial Mappings
Contains mappings between internal face shapes, and your character model's Morph Targets.
These include the 52 'ARKit' face shapes, and OVR 'Viseme' lip sync shapes.
You can also adjust the strength of these shapes inside this asset.
Interactions / Stance Groups
These are where you can define Interactions and Stance Groups.
Interactions are actions your Avatar can perform, such as playing animations, and triggering Blueprint script.
Stances are special Interactions in which your Avatar transitions between multiple states. For example, you can have a Stance Group for your Avatar's current pose, and transition between different poses.
Motion Settings
Motion Settings allow you to modify how your Avatar moves, and toggle or limit various tracking features.
This tool created one to be your Avatar's default, but you can create more and apply them with Stances and Interactions.
or example, if your Avatar has a Stance where they are sitting, you can make a new Motion Settings asset for that Stance to limit how far their hips can move.
Testing the Avatar in-Editor
See this page to learn how to test your Avatar in the Editor:
Testing Avatars and Levels
How to test avatars and levels in the Editor
Exporting for kemorig
This is also a good time to try exporting your Avatar for kemorig. This will make sure everything we’ve set up so far is working.
For instructions on exporting, see this page:
Exporting Custom Content
How to export a .pak of custom content for kemorig
You should be able to select your avatar in the menu and start using it.
Next Steps
Congratulations! You’ve now got a simple working Avatar, and are ready to start implementing poses, animations, interactions, and anything else you’d like.
Poses and Animations
Overview of posing and animating Avatars
Interactions
How to set up Interactions for your avatar
Stances
How to set up Stances for your avatar