Editor Setup
Version v0.8 simplified the setup process. If you have an older kemorig version, you will also need the old Package Setup guide here: link
This guide walks through the process of setting up the editor project for kemorig to make custom Avatars and Levels.
Installing Unreal Engine requires 30 to 40 GB of drive space.
To start making custom content we will complete the following steps:
- Install the Epic Games Launcher
- Download Unreal Engine 5.4
- Open the kemorig_editor project included with your kemorig download.
- Create a Plugin in the project to hold your custom content.
Note: How Custom Content Works

Unlike other VTuber apps, kemorig does not load individual avatar or level files. Instead, it loads .pak (or “package”) files, which contain any content created in Unreal Editor. A .pak can contain Avatars, Levels, and any other supporting assets.
Download Unreal Engine 5.4
First we need to download Unreal Engine 5.4 with the Epic Games Launcher. You can download it here: link.
Install the Epic Games Launcher on your PC and create (or log-in to) an Epic Games account.
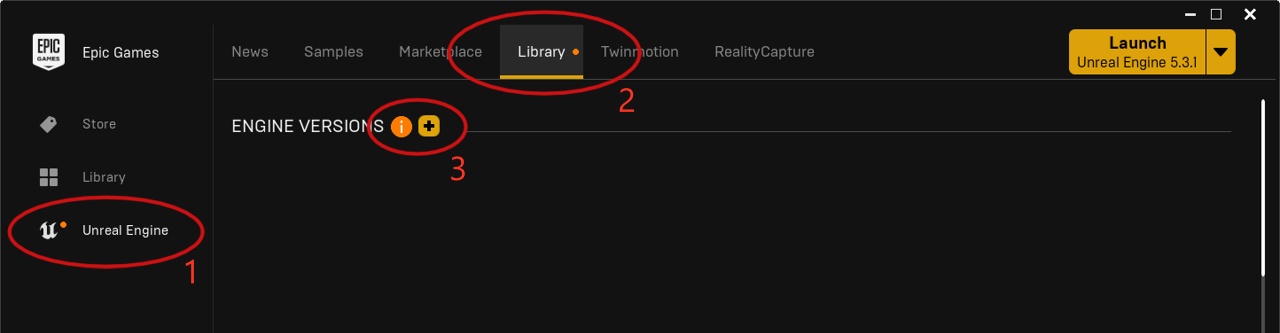
In the Launcher, navigate to Unreal Engine > Library and click the plus button next to Engine Versions to add a new Engine install.
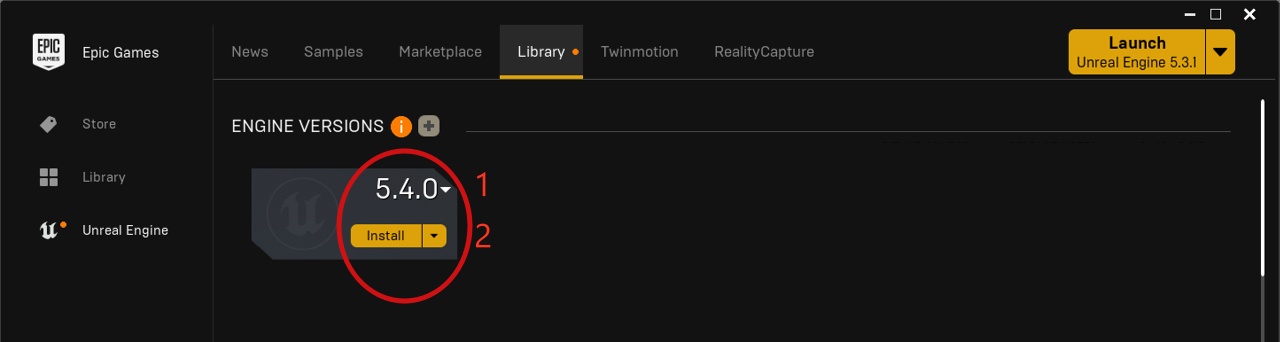
On the box that appears, select version 5.4.4 (Or whatever the latest 5.4.x version is)
Click Install.
The download and install will take some time.
Launch Unreal Engine 5.4
We need to launch the engine once to install prerequisites and click through some Windows security popups.
Click the Launch button for the newly installed Unreal Engine version, and click through any popups until you see the Unreal Project Browser. Then you can close the window.
You no longer need to use the Epic Games Launcher, or launch the engine in this way going forward.
Launch kemorig_editor Project
Find your kemorig download. The kemorig_editor sub-folder is a directory containing the Unreal project we will author custom content in.
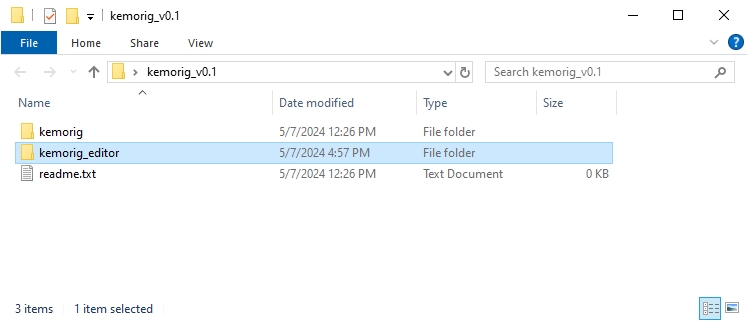
You can move the kemorig_editor folder anywhere on your PC. It does not need to be next to the kemorig app folder.
Open that folder and find kemorig_editor.uproject.
kemorig_editor.uproject is our Unreal Project file (which runs using the Engine build we downloaded). We will open this to run the editor and work on custom content.
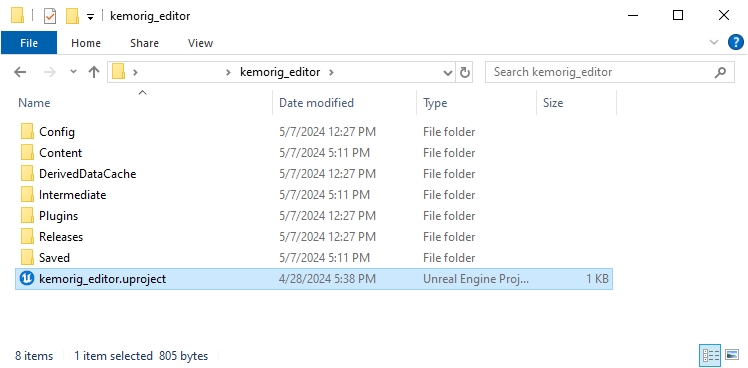
Double-click the Project file to open the editor. The first time you do this, it will take a few minutes compiling shaders. The time taken depends on your GPU hardware.
Once this process completes, you should see the editor.
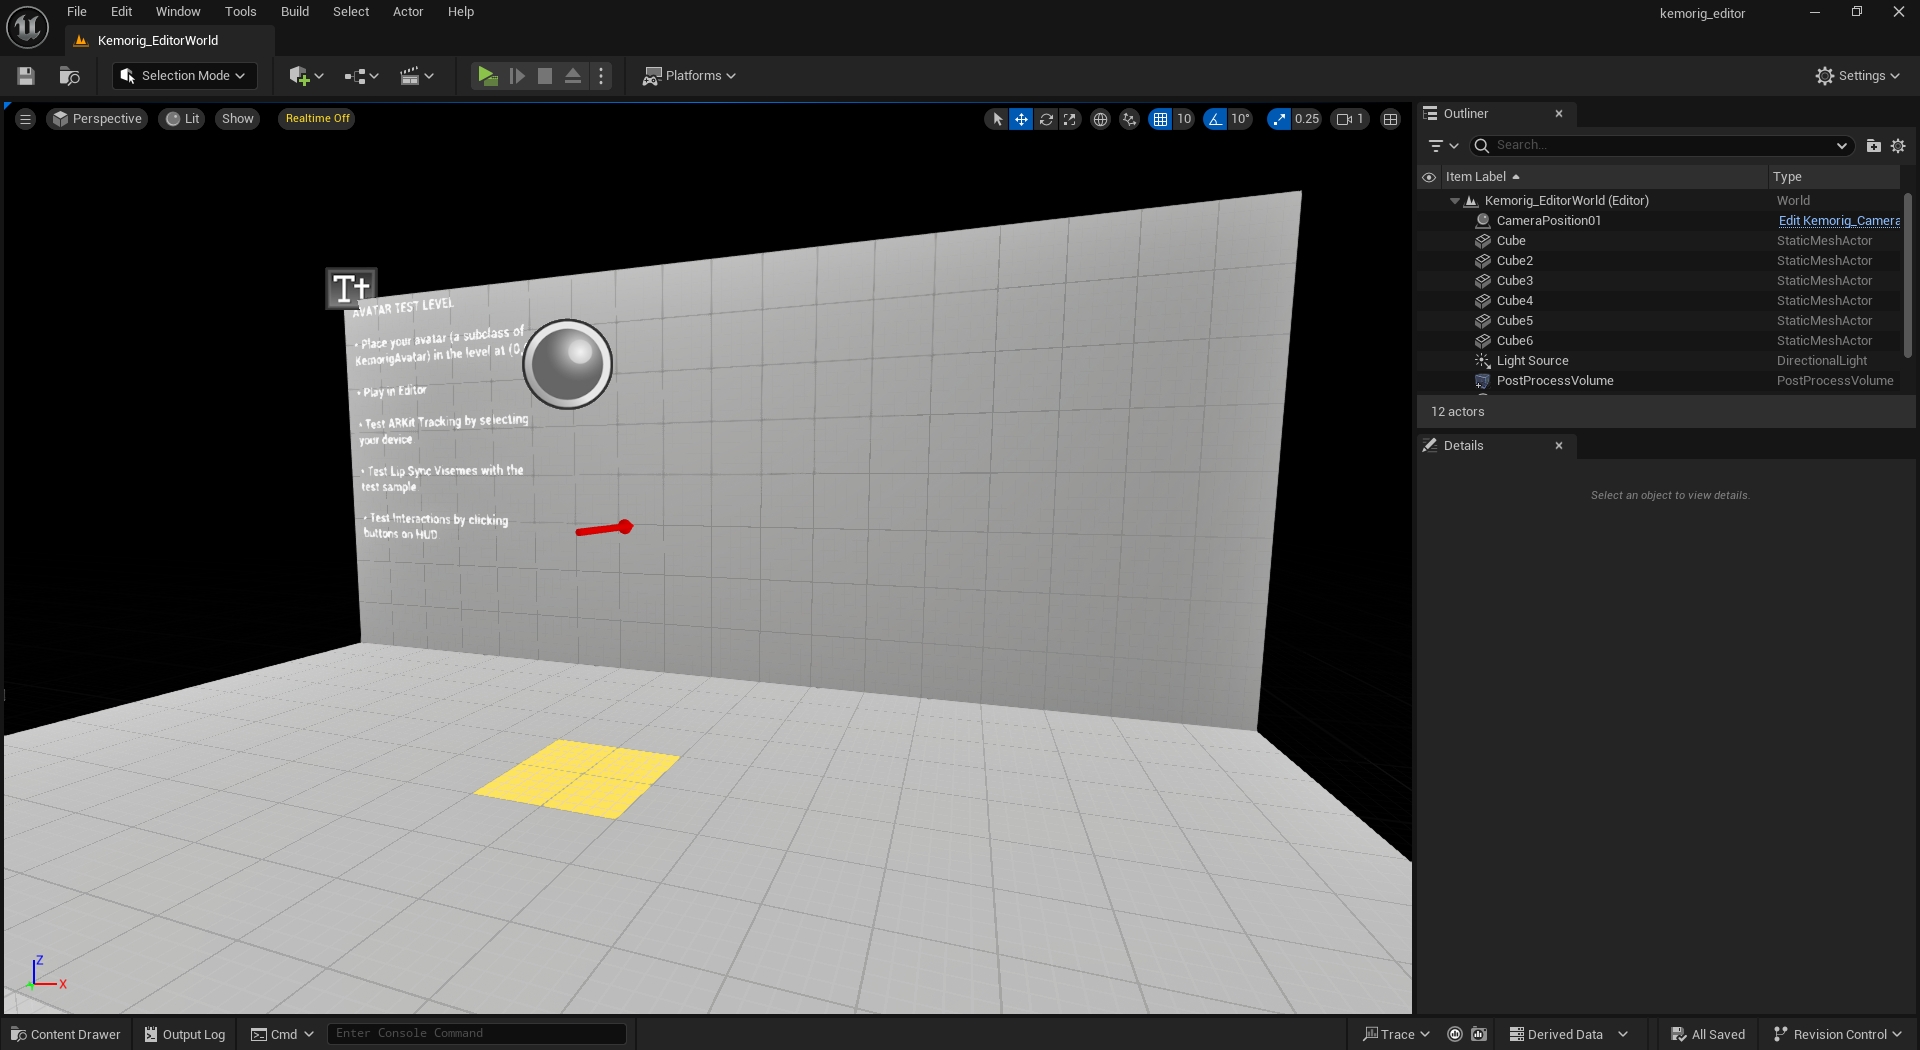
Make a New Plugin
Yes, a "Plugin"! Custom avatars and levels are authored in what Unreal calls a "Plugin".
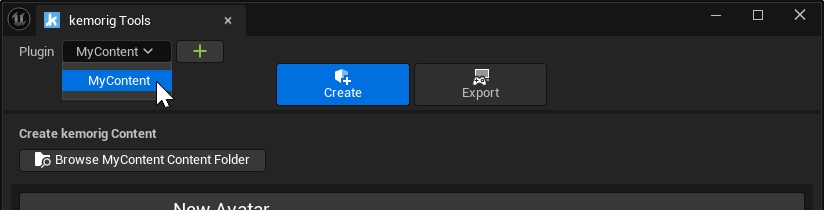
In the editor, find and open kemorig Tools on the toolbar.
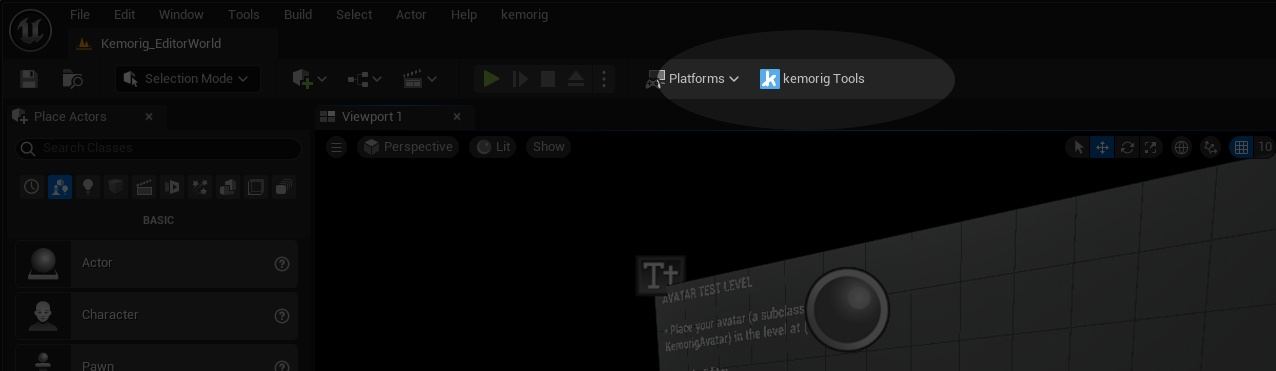
kemorig Tools is your home-base for creating and exporting content for kemorig.
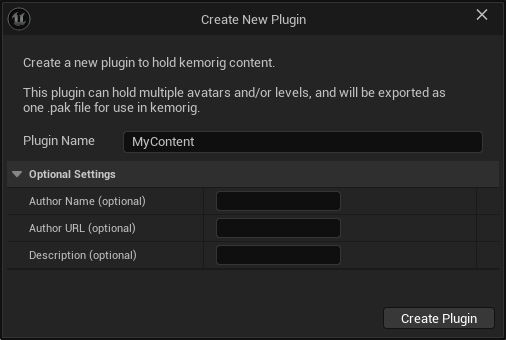
You’ll see that it prompts you to create a Plugin. Click the plus icon to create one.
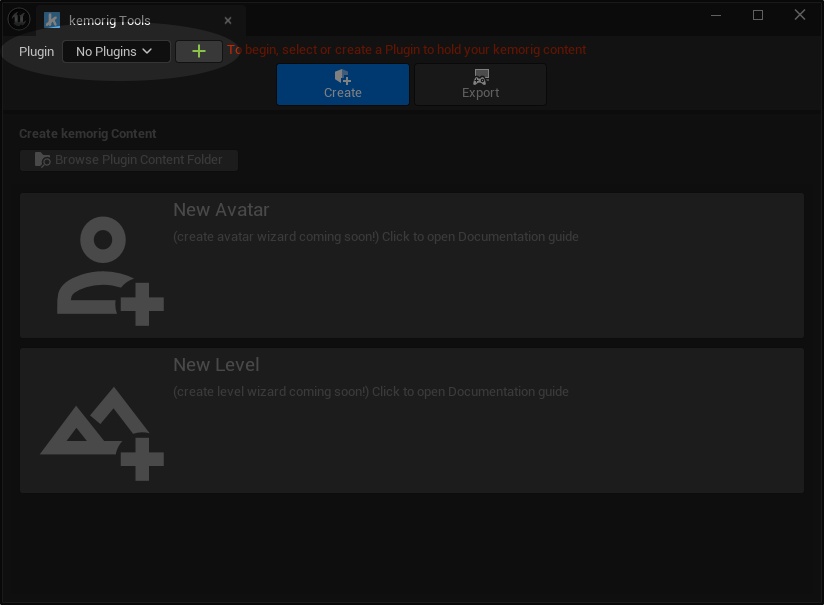
Give your plugin a name, and create it.
You can now select your plugin in the list, and start working.
Next Steps
Now you’re ready to create custom content for kemorig! You can enjoy a nice clean pipeline for creating content.
If you’re new to Unreal, this page can give you some tips to get started:

Unreal Beginner Tips
A quick intro to Unreal with helpful tips for beginners
If you want to get started making avatars or levels, start here:
Avatar Authoring Basics
How to make an Avatar for kemorig
Level Authoring Basics
How to make a Level for kemorig