Level Basics
This page goes over the basics of creating a kemorig level.

Example Levels
The Editor Project has example levels to reference. More info here:

Examples
Example Content included with the kemorig Editor
Level Assets
These are the assets you need to make a level in kemorig.
Required Assets
- A Level (the Level asset itself in Unreal)
- A Data Asset of type KemorigLevelDescription
Recommended Assets
- A Texture for an icon displayed in the menu
Optional Assets
- A Blueprint of type KemorigLevelBlueprint to contain blueprint logic in your Level
- Interaction definitions in a DataTable of type KemorigLevelSoloInteractionTableData
- Stance Group definitions in a DataTable of type KemorigLevelStanceGroupTableData
Folders in Your Plugin
First, let’s be organized and create new folders in our plugin content directory where we’ll store our level’s assets.
Right-click in the content browser to create folders. Let’s make a Levels folder, and inside that a folder named the name of our level.
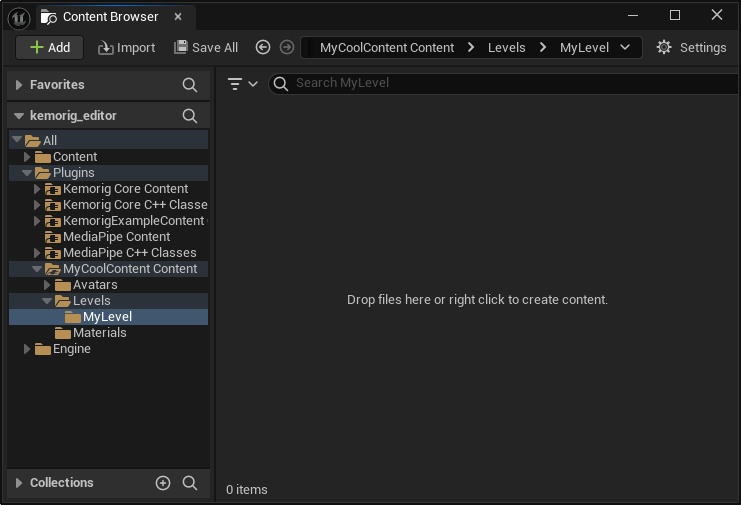
This guide will use the name "MyLevel" as an example moving forward.
Create Level Asset and Description
First we’re going to make the Level asset itself. However, I highly recommend copying one of the example Levels rather than making a new one from scratch.
There are two example levels to choose from:
- Default Level - A simple lighting setup, with a transparent background and an invisible floor.
- Kemorig Day - A simple lighting setup, with a visible sky and floor.
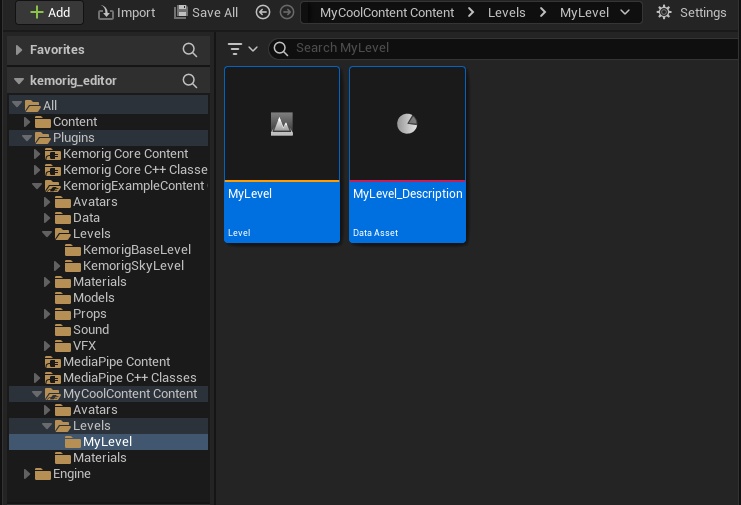
(You can find both in the KemorigExampleContent Content/Levels/ directory.)
While we’re at it we’ll also copy an example level’s Level Description Data Asset to use for our level.
In the content browser, navigate to one of the folders in KemorigExampleContent Content/Levels/ and find its Level and DataAsset. Copy/Paste a copy of them into our folder and rename them.

Fill out the Level Description
Now let’s fill out the description Data Asset.
Double click it to open it. You’ll see a number of fields you can fill with information.

You’ll also notice an Icon field. You can import a Texture and use it as an icon for the menu.
The recommended size for your icon is 256x256 pixels.
Edit the Level
Next let’s open up the Level.

The above screenshot shows a copy of Default Level, which has no sky because it will have a transparent background when played.
Here is a brief overview of the actors this level contains:

- Directional Light - the primary “sun” light of the scene.
- Sky Light - creates ambient light (i.e. non-directional light, ensures surfaces not in direct sunlight are not pitch-black). This actor can do this using the actual sky of the level, or a cubemap. In this case, it uses a cubemap.
- Post Process Volume - defines post process settings. Note that this volume is set to “infinite extent”, so it applies to the entire level, not just inside the volume.
- Sphere Reflection Capture - creates a snapshot of that spot in the level for simple reflections. It’s good practice for all levels to contain at least 1.
- Static Mesh Actor (Ground) - the invisible ground that the Default Level contains. Visible in-editor, not in-game. Used so that physics objects have a floor to land on.
Now you can edit your level and add whatever you like.
Test in-Editor
With the level open, we can test it in-Editor. You can also drag an avatar in (like the included Base-Kun example avatar) to test it with an avatar.
See this page for more information:
Testing Avatars and Levels
How to test avatars and levels in the Editor
Export for kemorig
Next let’s export the Level to use in kemorig, and test it there.
For instructions on exporting, see this page:
Exporting Custom Content
How to export a .pak of custom content for kemorig
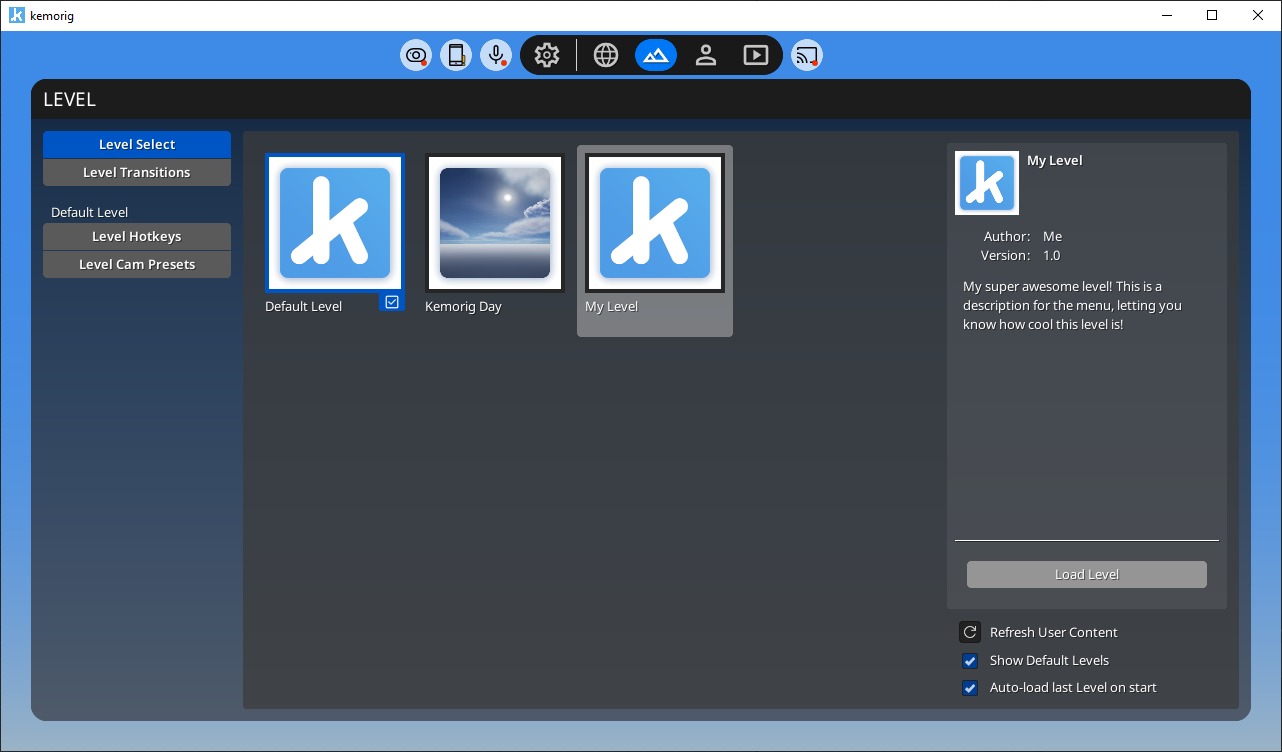
We should be able to select our level in the menu and open it.
Next Steps
Congratulations, you now have a functional level that can be exported and selected in kemorig!
Next you’ll want to learn how to add certain features to the level. See additional guides for each.