Avatar Authoring - Body Motion
How to set up body motion for your avatar, which can be driven by ARKit or Webcam tracking.
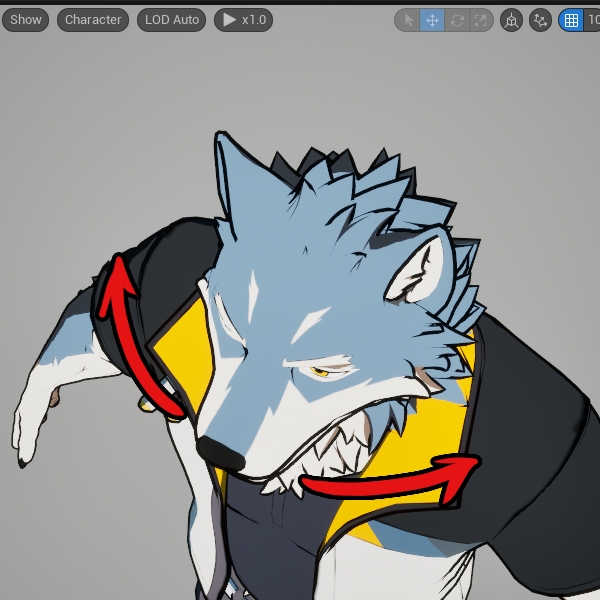
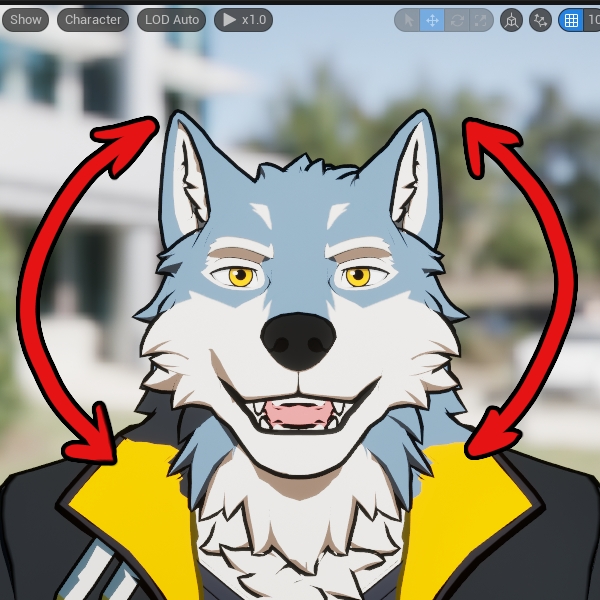
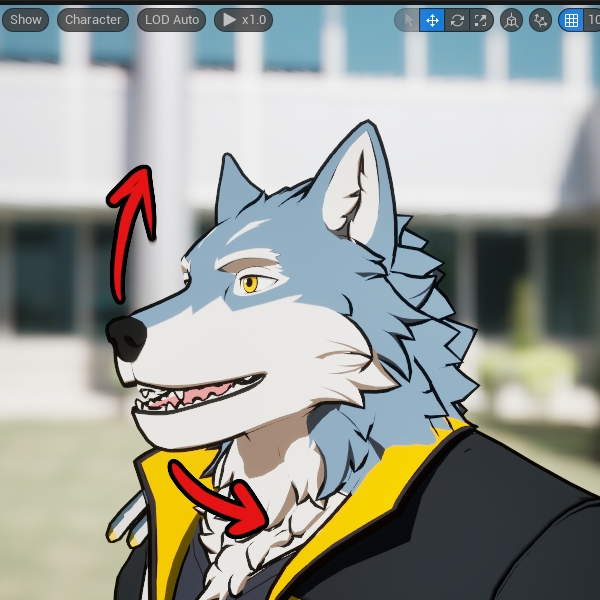
kemorig comes with tools to extrapolate the rotation down the character’s torso for a natural look.
Model Requirements
There are no specific requirements for your model or skeleton, other than to have a skeleton with a suitable number of bones to manipulate.
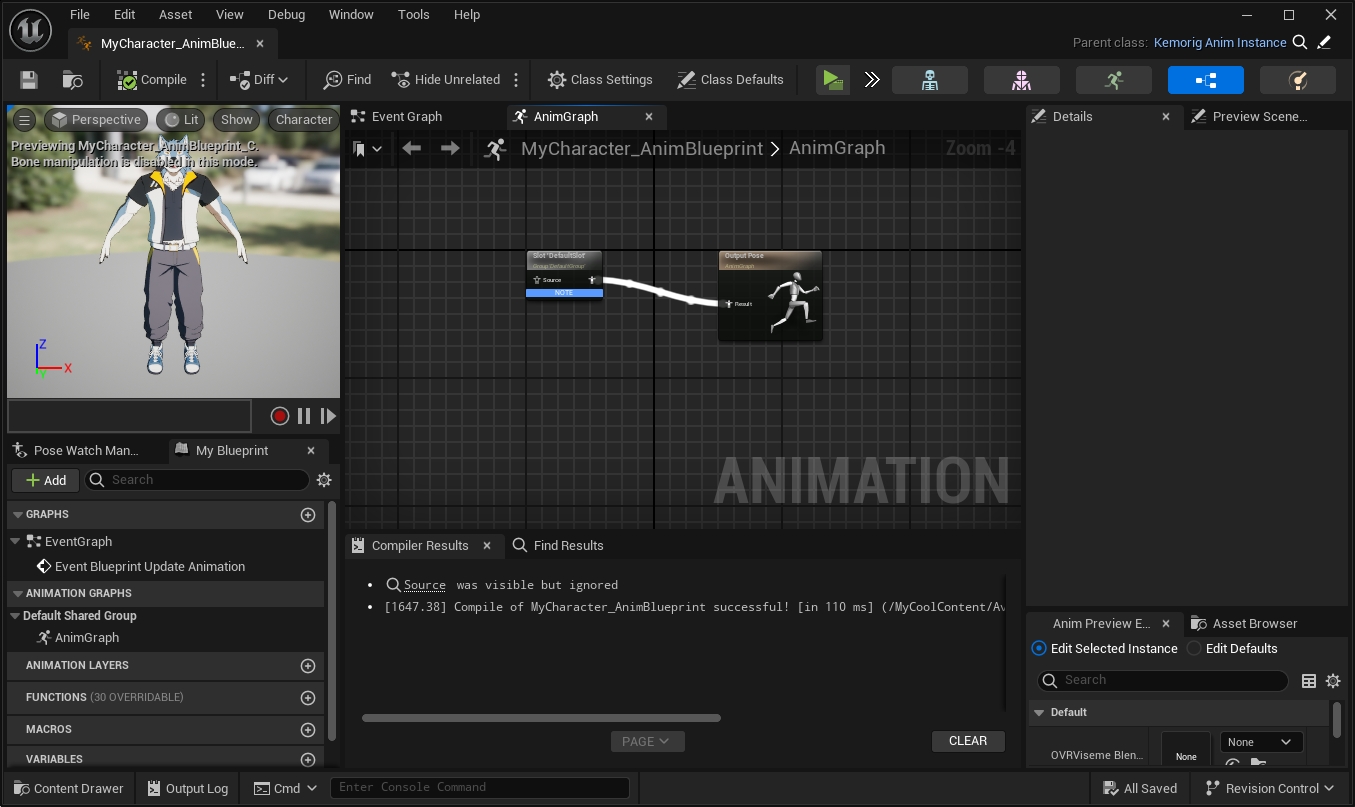
Add the Kemorig Tracking Node to your Anim Blueprint
Open your character’s animation blueprint, and navigate to the AnimGraph.
Right-click the graph and add these nodes:
- Kemorig Tracking - kemorig helper node for applying tracked motion to your skeleton.
- Get Final Pose Info - kemorig function for getting pose info for the current frame.
Connect the Kemorig Tracking node in your graph, and pass the output of Get Final Pose Info into it.
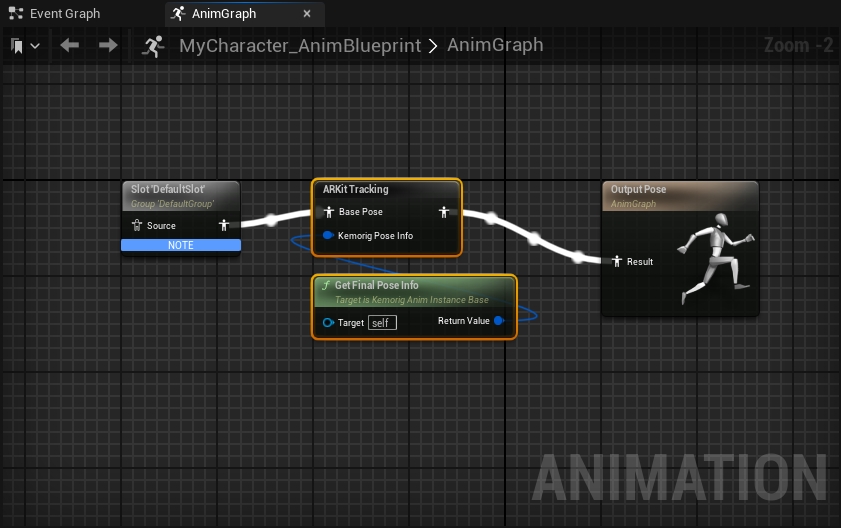
Where you place this node in your graph matters! The flow from left to right shows how the pose is built step-by-step. The ARKit Tracking node is additive, meaning whatever pose goes into it will have the ARKit motion added on top of it.
Enter Bone Information
Select the Kemorig Tracking node, and look at the Details panel. Find the Tracking Settings category.
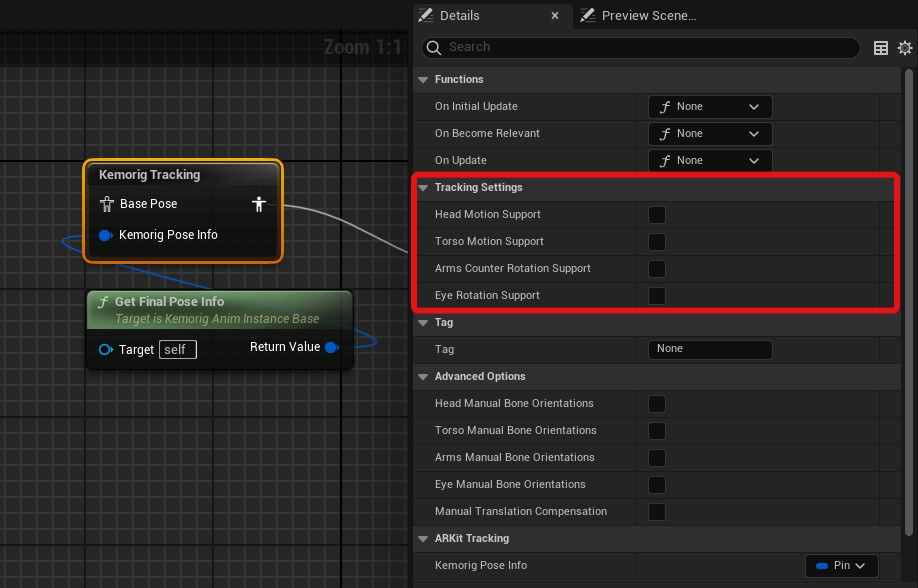
Check the boxes for the type of motion you want to support:
- Head Motion support
- Torso Motion support
- Arms Counter Rotation support
- Eye Rotation support
When you check one of these boxes, additional parameters will appear prompting you to enter bone names.
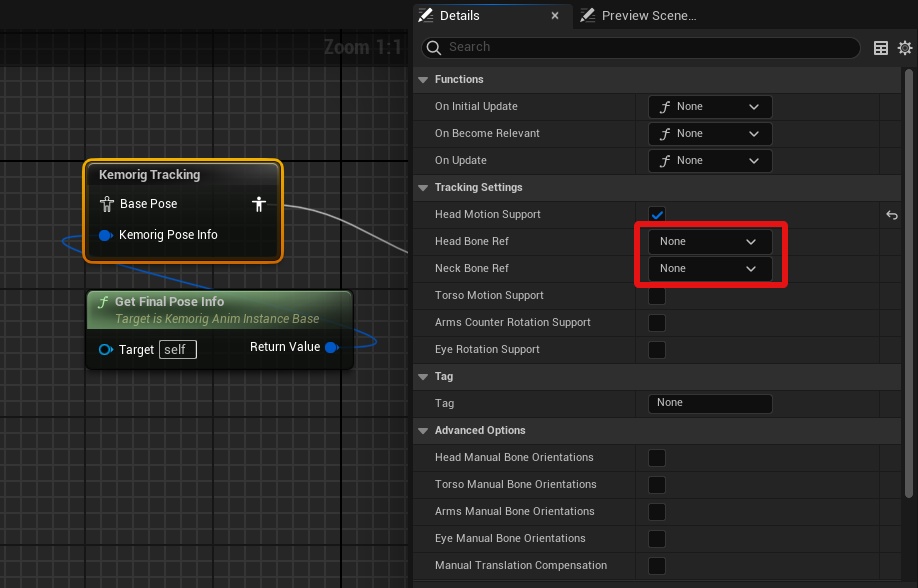
In the dropdowns, select the bone in your character’s skeleton corresponding to the expected body part.
Go through all the fields in Tracking Settings and fill them out with your model’s information. The bones you can enter are:
- Head
- Neck
- Spine Upper
- Spine Mid
- Spine Low
- Hip Bone Ref (for positional motion)
- Arm L
- Arm R
- Eye L
- Eye R
Your model's skeleton may not be a 1-to-1 match for these expected bones. If your skeleton has fewer bones, you can leave any of these fields blank and the rest will work. If your skeleton has more bones (e.g. more than 3 spine bones), you can skip some in the middle when you fill out Upper, Mid, and Low.
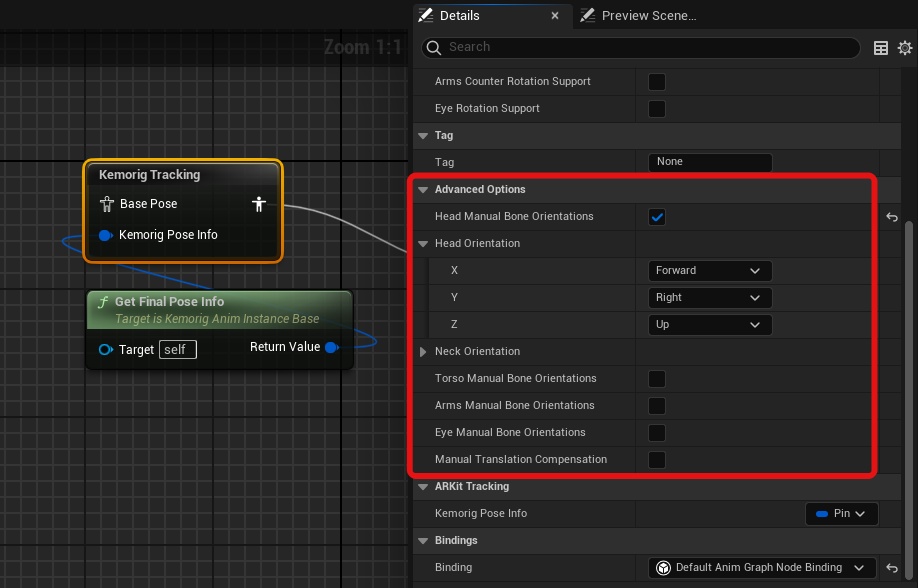
Manual Bone Orientations (Optional)
This section is for rare cases and can be skipped for most avatars.
Kemorig performs some automatic calculations to determine the orientation of your avatar’s bones.
In rare circumstances (such as with non-humanoid characters, or unusual bind poses) you may run into issues with how tracking yaw/pitch/roll are applied to bones. In this case, you can manually input the orientations of each bone.
To do this, select the Kemorig Tracking node, look at the Details panel, and find the Advanced Options category.
What are Roll, Pitch, and Yaw?
Roll - “tilting”
Pitch - “looking up and down”
Yaw - “looking left and right”