Quick-Start Guide
This guide goes over the basics of using the kemorig app, and how to get started after downloading.
We will select a default avatar, get tracking up and running, and output a transparent video with Spout.
Your Download
Your download includes two things:
- kemorig - the application.
- kemorig_editor - the Unreal Project for authoring custom content.
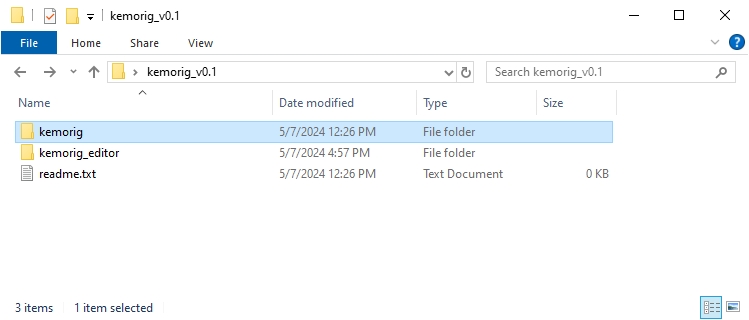
You can move these two folders anywhere you like – they do not have to stay together.
Open the kemorig folder and click on kemorig.exe to run the app.
Run kemorig
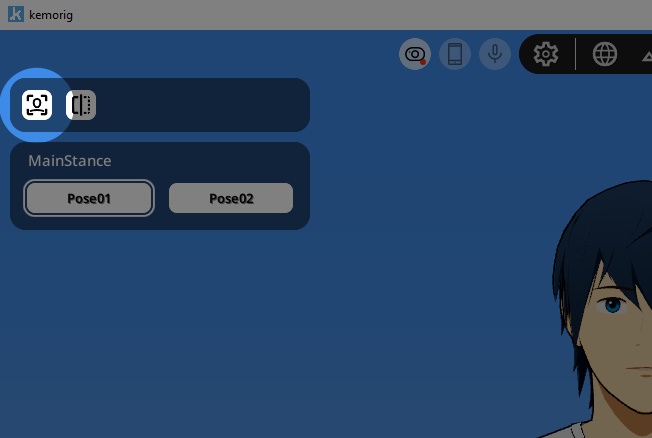
When you run kemorig for the first time, this is what you will see:
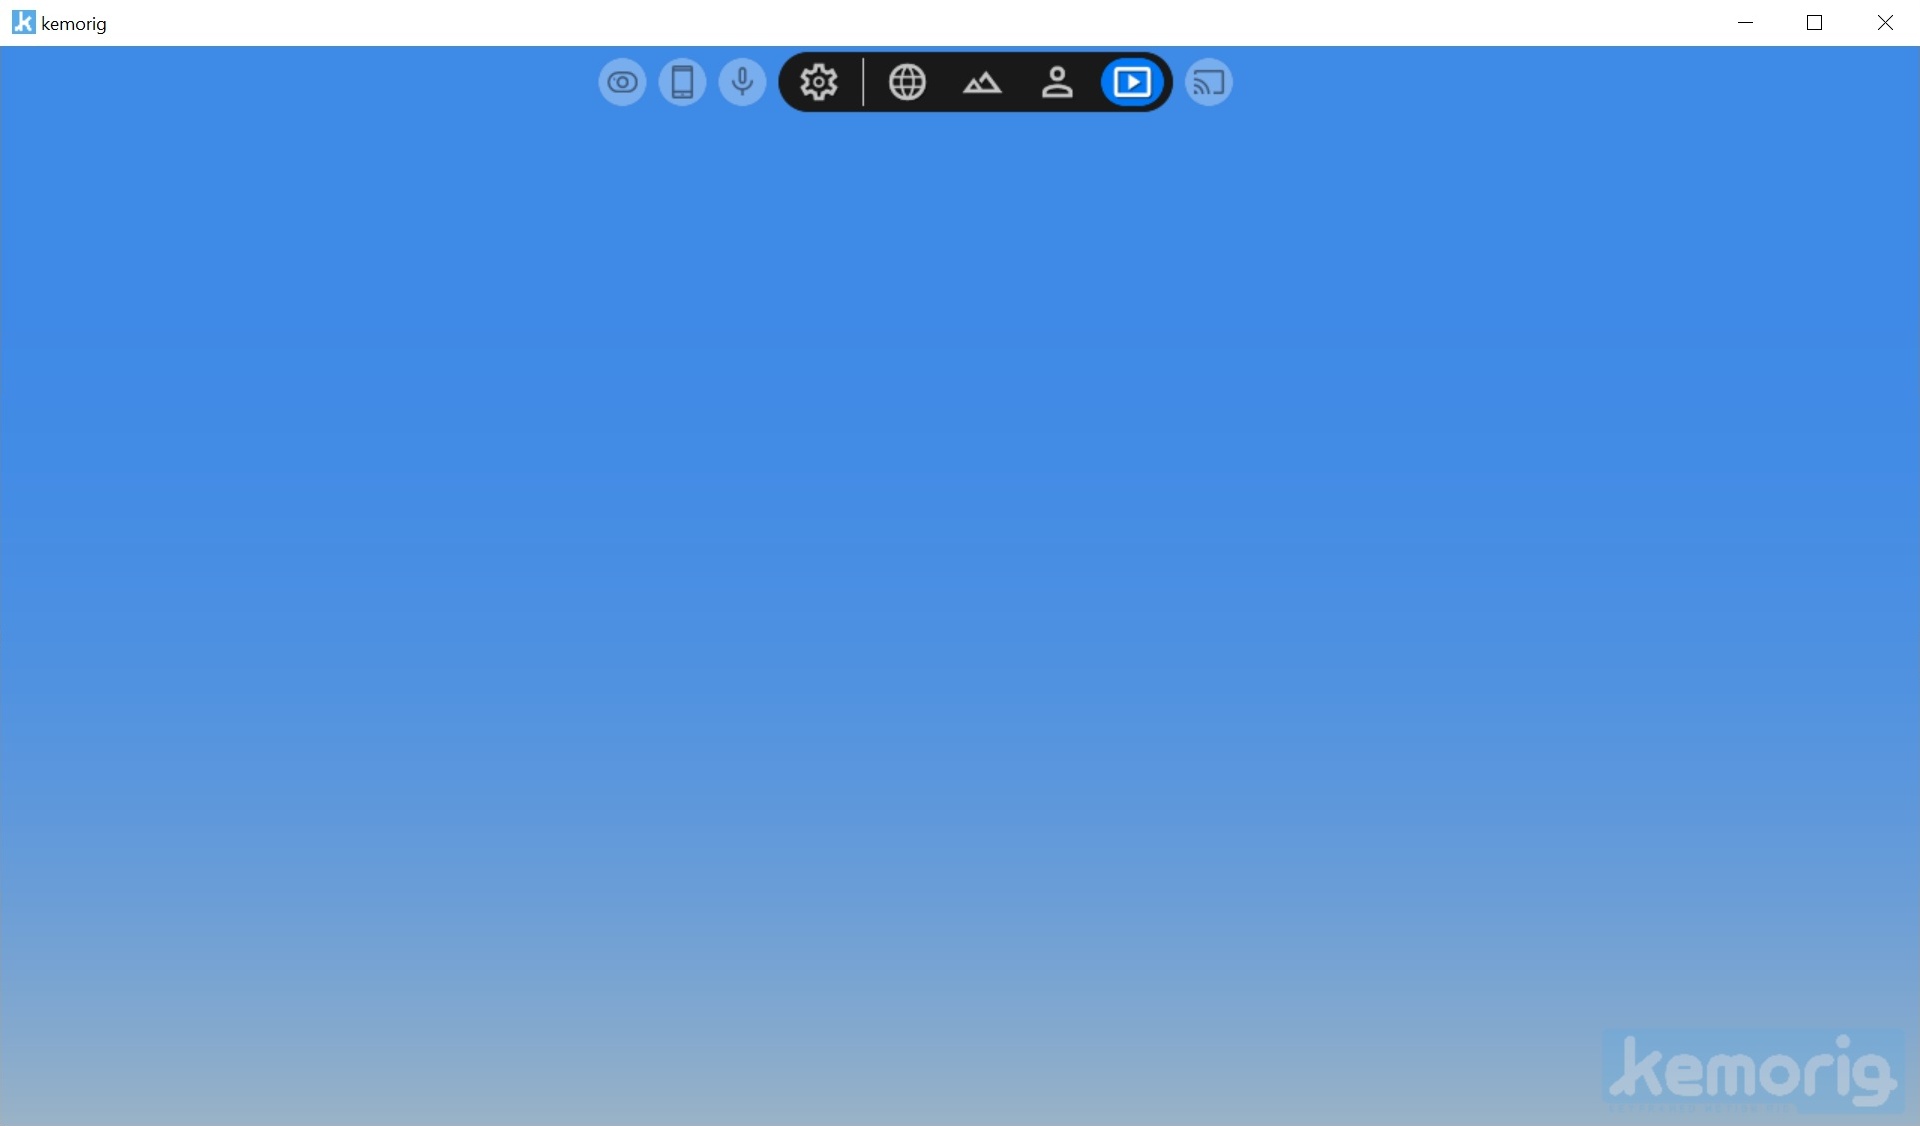
The top-bar is where you can see your status and navigate the app.

Hover over each menu icon to see the name of the menu. Hover the statuses to see more details.
Select an Avatar
Navigate to the Avatar Settings menu, select the default avatar Base-Kun, and click Load Avatar.

Base-Kun is an example that supports all tracking types. But as we can see, tracking isn’t enabled yet!

Webcam Tracking
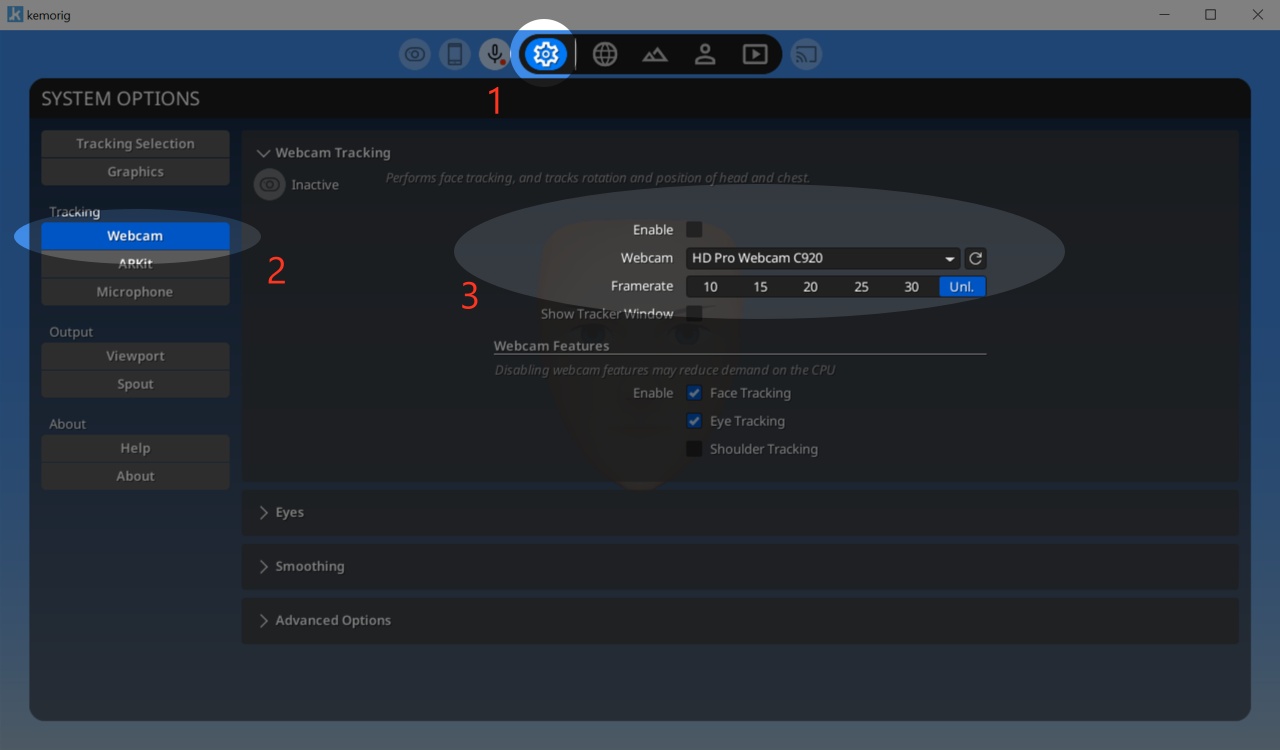
In kemorig, navigate to System Options > Webcam.
To enable Webcam Tracking:
- Check the box for "Enable Webcam Tracking".
- Then, select your device name in the Webcam dropdown. You may have to click the refresh icon next to it to discover your webcam.
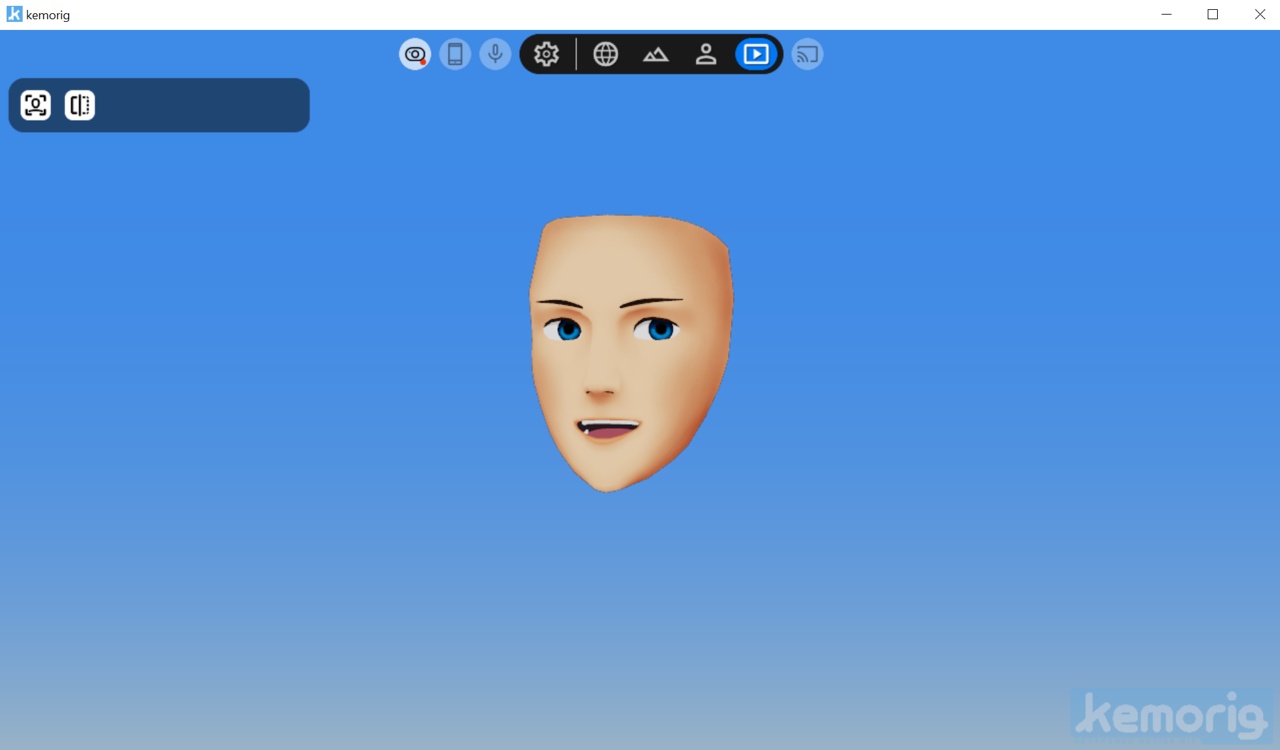
With Webcam active, you can now control Base-Kun!
If your webcam is not recognized, double-check that no other application is currently using it. Generally, a webcam can only be used by one application at a time.
Recenter Tracking
You probably also need to recenter tracking once you enable Webcam Tracking.
In the Live Controls tab, find the recenter button in the top left. Look straight-ahead with a neutral expression, and click the button.
This button recenters all tracking types, not just webcam.
ARKit Tracking
To use ARKit Tracking, you will need an iPhone X or newer.
Set up your iPhone
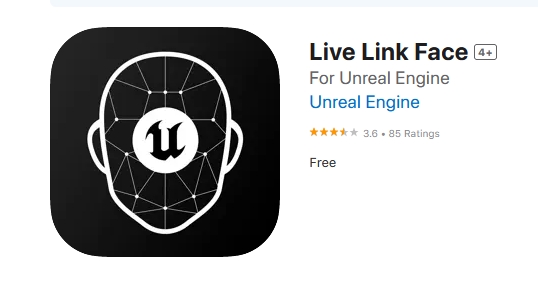
On your iPhone, open the app store and search for Live Link Face. The app is published by Unreal Engine.
In order for Live Link Face to communicate with your PC we need to do the following:
- Connect our iPhone to the same local area network as our PC (via wifi).
- Provide our PC's IP address to the Live Link Face app.
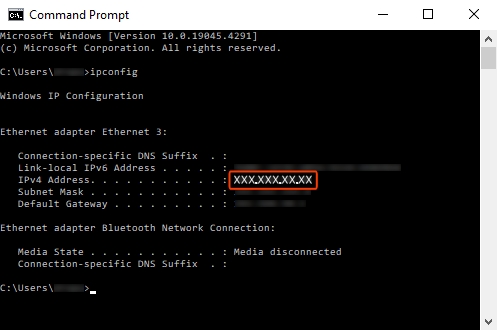
To find your PC’s IP address, do the following:
- Open a Command Prompt (You can do this by clicking on the Start Menu and typing "cmd")
- In the Command Prompt, type "ipconfig" (with no quotes) and press enter.
- Find the number listed as "IPv4 Address". That is the IP address you will give the Live Link Face app.
Connect your iPhone to your local area network.
Open the Live Link Face app, and do the following:
- Tap on the cog in the top-left to open the Settings menu.
- Find the "Streaming > Live Link" row, and tap on it to open its settings.
- Set your subject name to whatever you like (this is the name you'll see in kemorig).
- Under "Targets", add a target, and enter the IP Address you found on your PC (you must type it in the same format including periods).
- Leave the Port row at the default setting.
Close the Settings menu, and now your Live Link Face app is ready to communicate with kemorig!
You can tap the “LIVE” button at the top of the screen to enable or disable Live Link.
Enable ARKit in kemorig
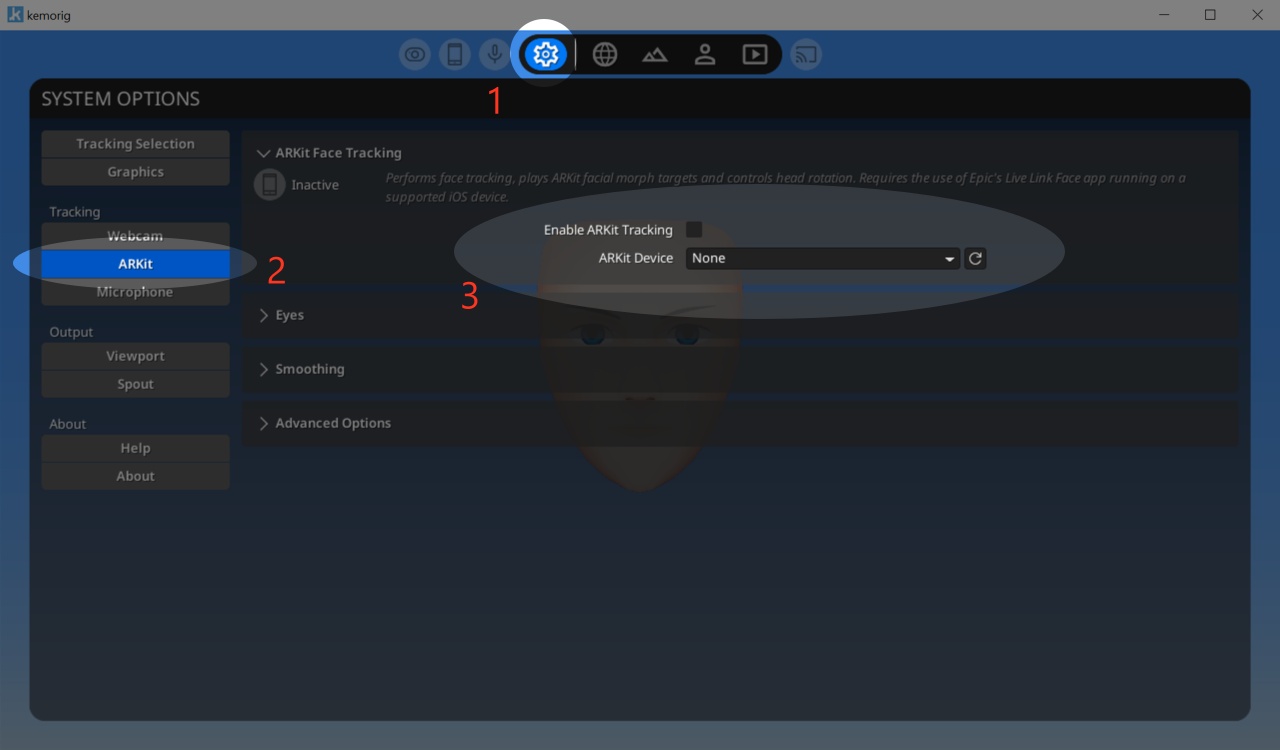
In kemorig, navigate to System Options > ARKit.
To enable ARKit:
- Check the box for "Enable ARKit Tracking".
- Then, select your device name in the ARKit Device dropdown. You may have to click the refresh icon next to it to discover your iPhone.
If you still don't see your device in the list, double-check that a) your iPhone is connected to the same local area network as the PC, b) the correct IP address is set in the targets, and c) Live Link Face is currently LIVE (with the LIVE button lit up).
Microphone Lip-Sync
Navigate to System Options > Lip Sync.
To enable Lip Sync:
- Check the box for "Enable Lip Sync".
- Then, select your device in the Microphone dropdown.
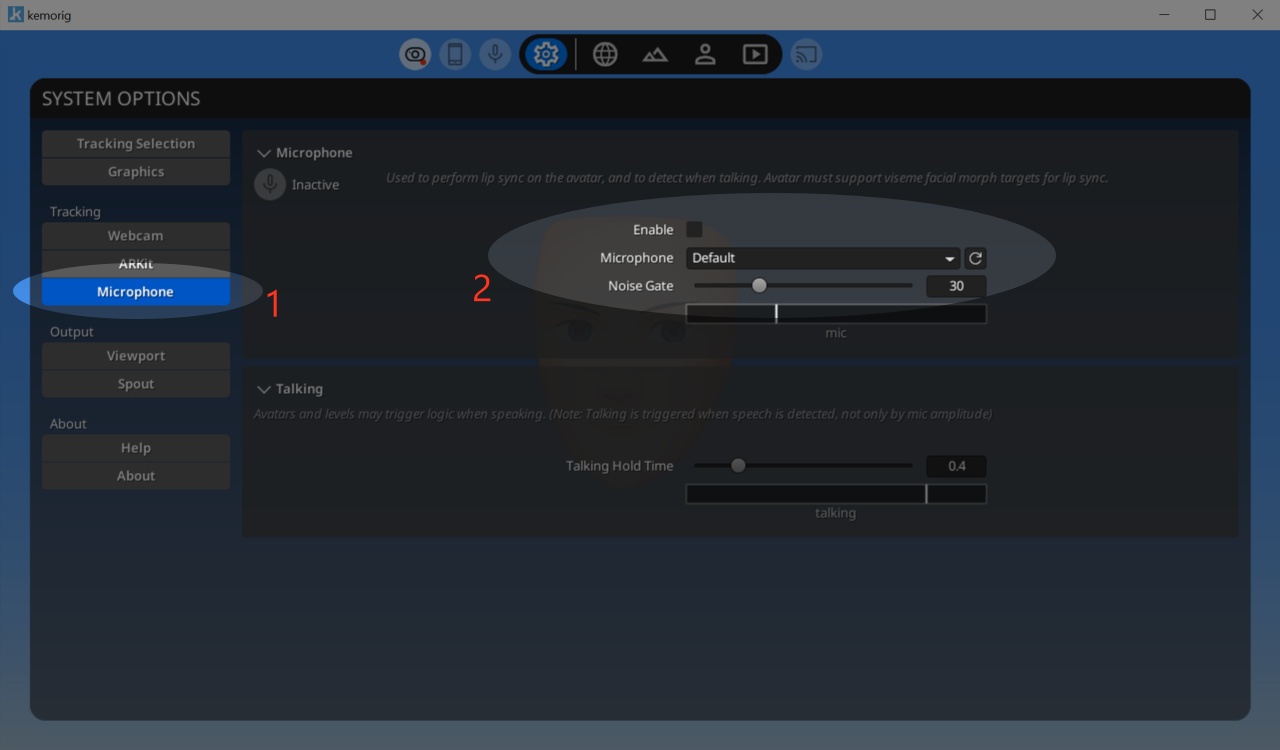
Now Base-Kun will lip sync with your speech.
Side-Note: Tracking Status Icons
When dealing with tracking methods in kemorig, you’ll see their status icons change:

- The yellow exclamation point means it is enabled, but not active due to not having a valid device.
- The red dot means it is enabled and active.
Save a New Camera Preset
In kemorig, you can adjust the camera in the viewport and save multiple presets for later.
To manipulate the camera, use the following hotkeys:
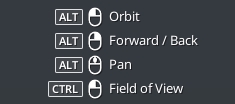
- Alt + Left Click - Orbit
- Alt + Right Click - Move forward and backward
- Alt + Middle Click - Pan
- Ctrl + Left Click - Adjust field of view
Position the camera how you like. Then, navigate to System Options > Global Cam Presets.
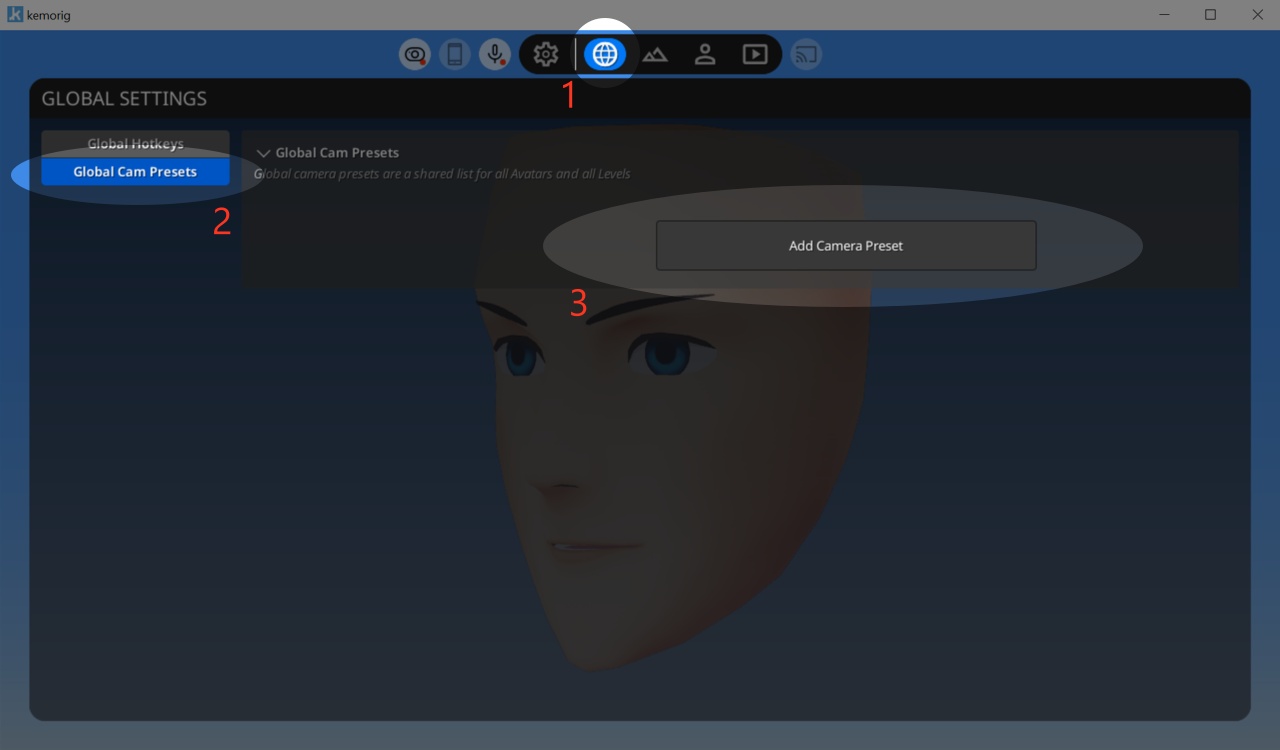
Click the button to add a new cam preset.
When you add a new preset, it immediately saves the current camera position. You can re-save a new position to a preset by clicking Set Cam Position
You can also give presets a label, and a hotkey.

From here, you can add multiple camera positions and switch between them with a hotkey.
Capture kemorig with Spout
Finally, let’s set up kemorig to output a Spout video feed to capture for streaming. In this case, we’ll capture using OBS.
You can also capture kemorig using a Game Capture source in OBS, and this will support transparency! However, this has the side effect of capturing the UI, and Spout is recommended for most users.
First, you need to install the Spout plugin for OBS. You can find it here: link.
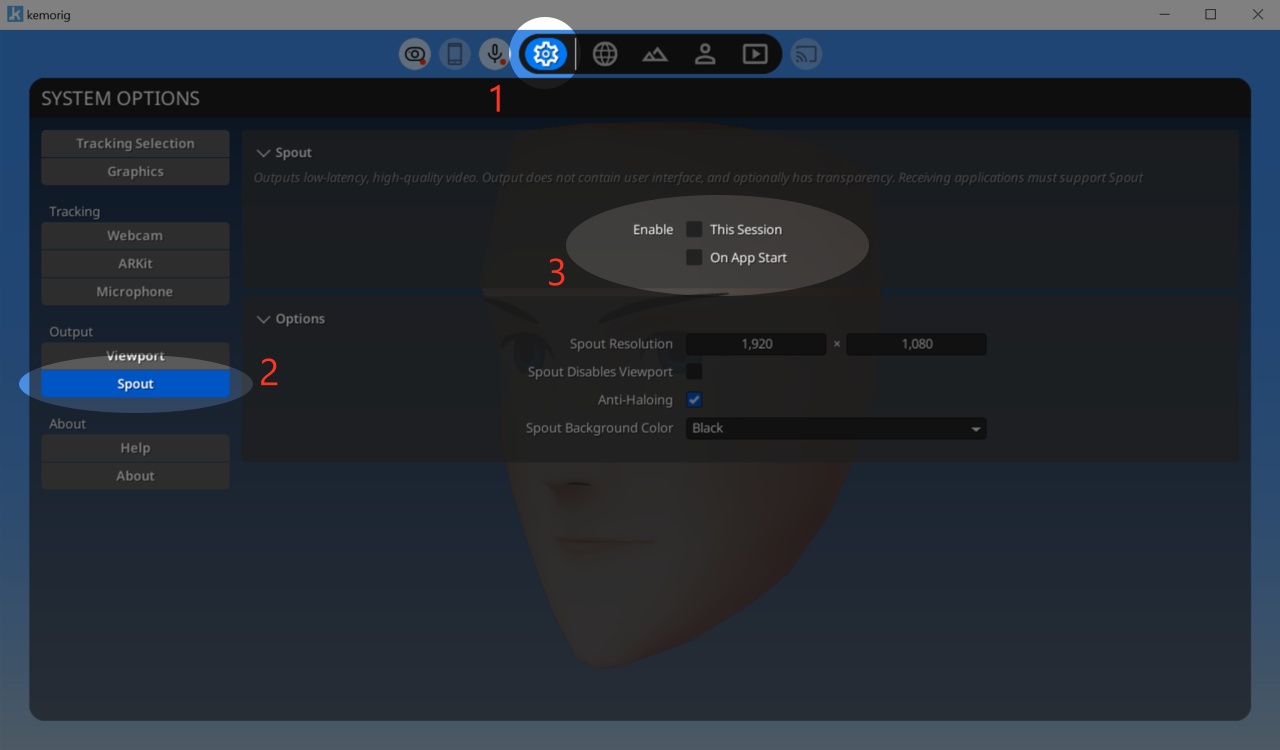
Next, in kemorig, navigate to System Options > Spout.
Check the box next to “Enable - This Session” to activate Spout.
Now, in OBS, you can add a “Spout2 Capture” Source to a Scene. In the properties for the Spout2 Capture, you should see a SpoutSender called “kemorig”.
Using the Composite mode “Default”, the Spout feed will have transparency around your character.
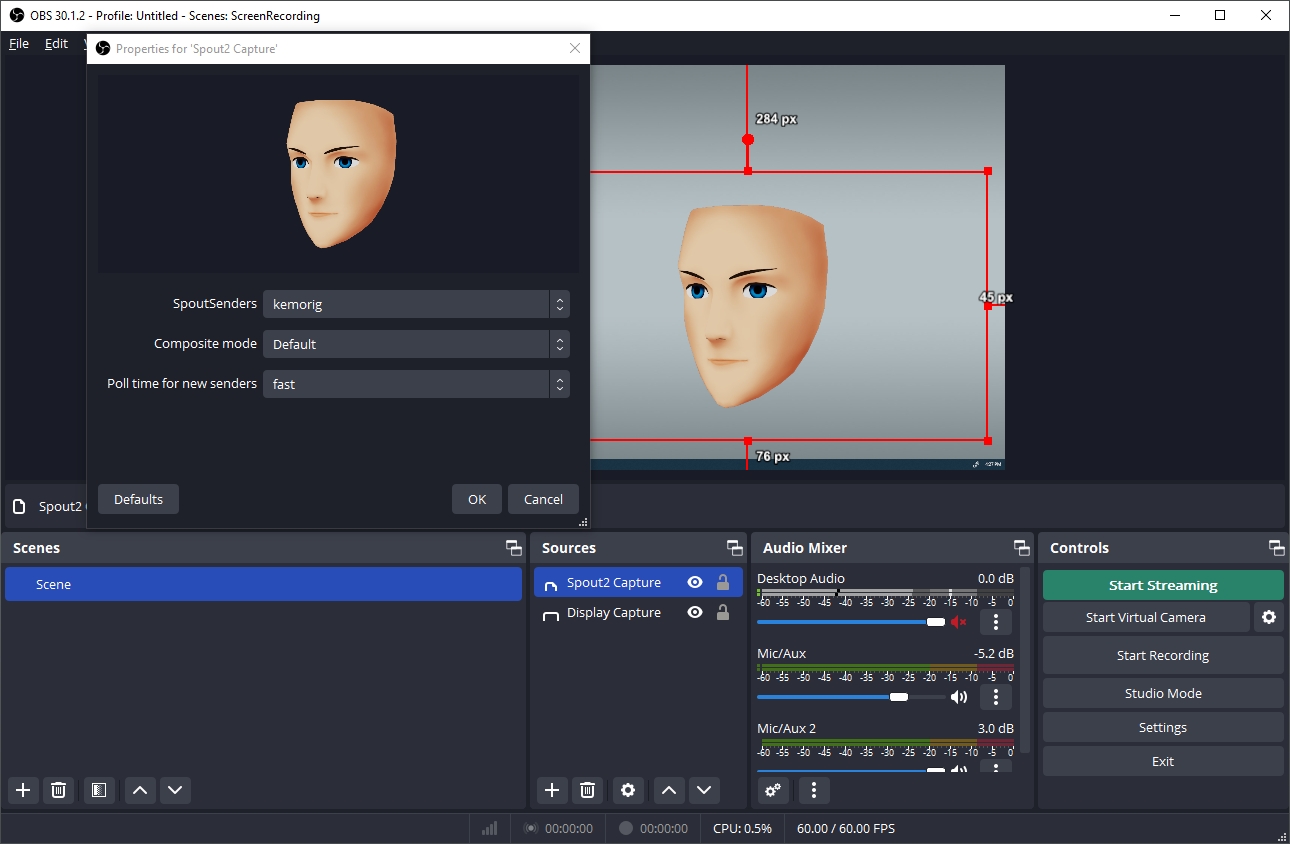
Now you can composite your kemorig avatar with the rest of your scene in OBS.
Next Steps
If you have custom content ready to use, follow this guide for instructions on installing it in the app:

Installing Custom Content
How to install a .pak of custom content in kemorig
If you want to start making custom avatars and levels, follow this guide to set up Unreal Editor for kemorig:
Editor Setup
Getting started with creating user content for kemorig