Exporting Custom Content
Version v0.8 changed the export process. If you have an older kemorig version, refer to the old Exporting Custom Content guide.
How to export a .pak of custom content from Unreal Editor, for use in kemorig.
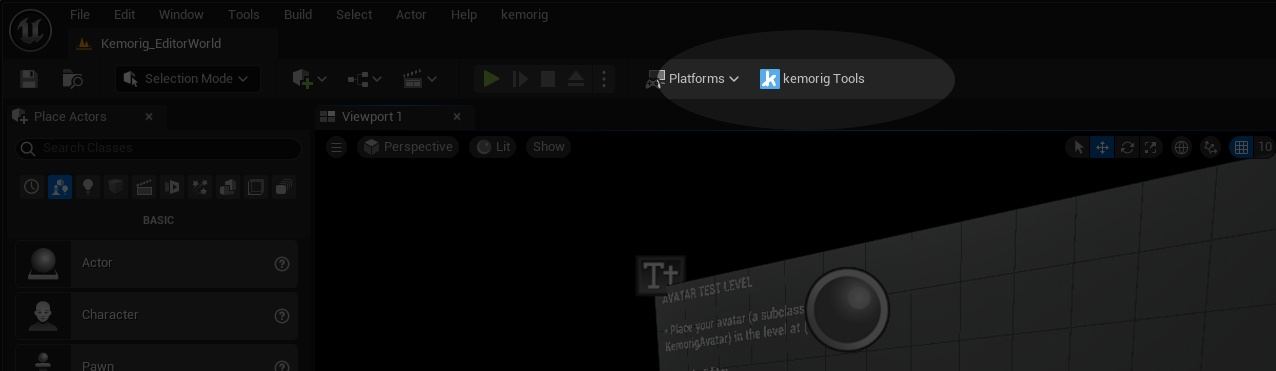
Open the kemorig Tools Exporter
In the editor, find and open kemorig Tools on the toolbar.
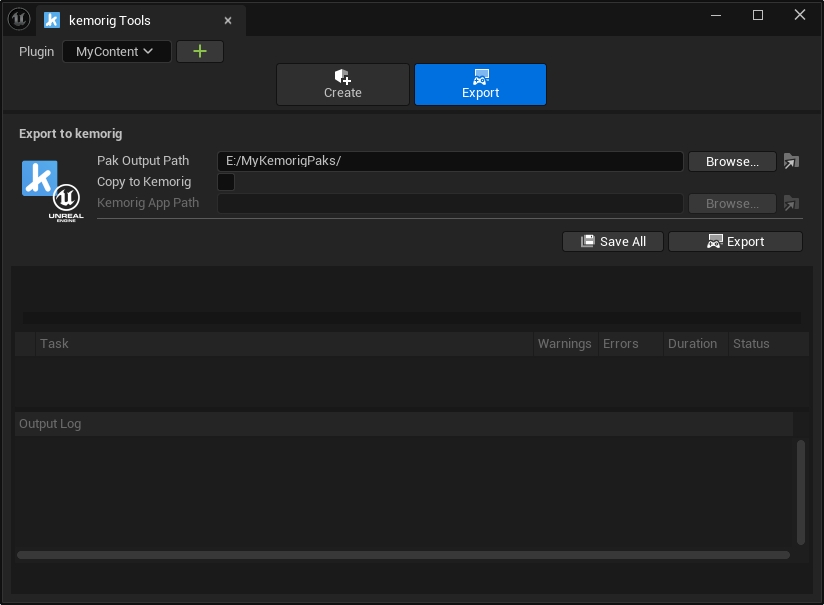
In the kemorig Tools window, open the Export tab.
Configure Exporter Settings
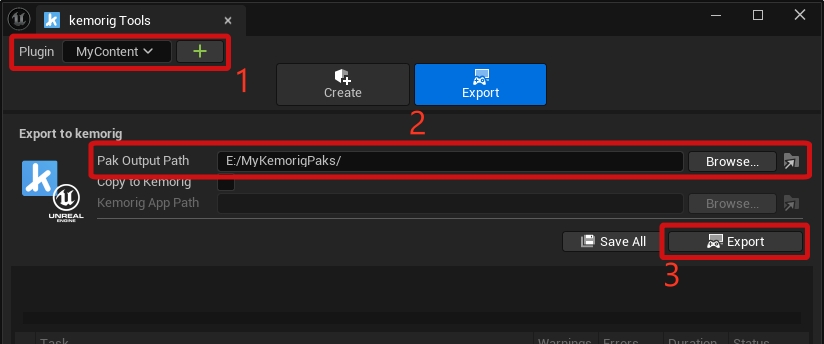
There are 3 steps to Exporting:
- Make sure your Plugin is selected in kemorig Tools.
- Enter your desired Output Path for the exported .pak file.
- Click Export.
Run the Export
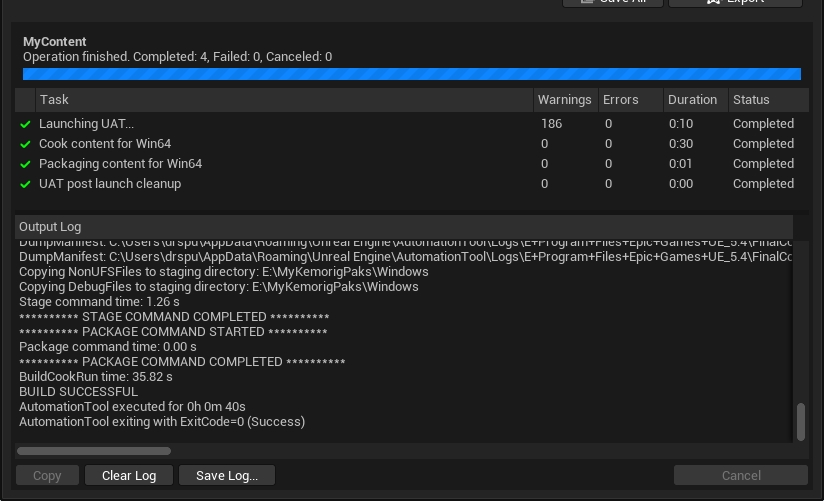
Click Export to run the export process. It will take a few minutes, but is faster on subsequent exports.
If the export is successful, you should see all green checkmarks in the Task list, and “BUILD SUCCESSFUL” at the end of the log.
Troubleshooting
If the build is not successful, check the log for errors. There are usually descriptive errors naming the asset(s) with issues.
Tips:
- Make sure your assets are saved before export. Unsaved changes will not be seen. Click Save All to save all un-saved assets and levels.
- Errors in the log will not be unique to kemorig. If you’re stumped, you can usually search online for help in Unreal communities.
Copy .pak File to kemorig
After a successful build, you should find your .pak file in the Output Folder. You can click the Open in Explorer button in the exporter to open it quickly.

This is the file you will copy into the kemorig/UserContent/ folder in the app to use your content.
Automatically Copy .pak File
The exporter also has an option to automatically copy the .pak file to the kemorig app.

Next Steps
For more instructions on installing custom content in the app, follow this guide:

Installing Custom Content
How to install a .pak of custom content in kemorig