Avatar Authoring - Lip Sync
How to set up lip sync morph targets.
kemorig supports microphone lip sync using Oculus OVR visemes. This is the same method you may be familiar with in other apps and vr programs.
Model Requirements
Your model must implement morph targets (aka blendshapes or shapekeys) for visemes.
OVR uses the following 15 morph targets (NOTE: these are the exact case sensitive names kemorig uses):
You can find various references online for how to author these. Here is one:
- Oculus’s viseme Documentation (official docs)
Morph Target Naming Convention
Your model’s morph targets do not have to match the exact names above. In a later step we will create an asset that maps your model’s morph target names to viseme names.
If you do use the exact names, and you don’t create that asset, kemorig will find the morph targets and use them. This could potentially save you time, but it’s good practice to make the mapping anyway.
Do I Need All 15?
No. Any missing morph targets will simply not play, and the rest will work.
In the mapping asset we’ll make below, you can also map one of your model’s morph target to multiple expected viseme names.
Obviously, if you don’t implement all 15, the final look may suffer.
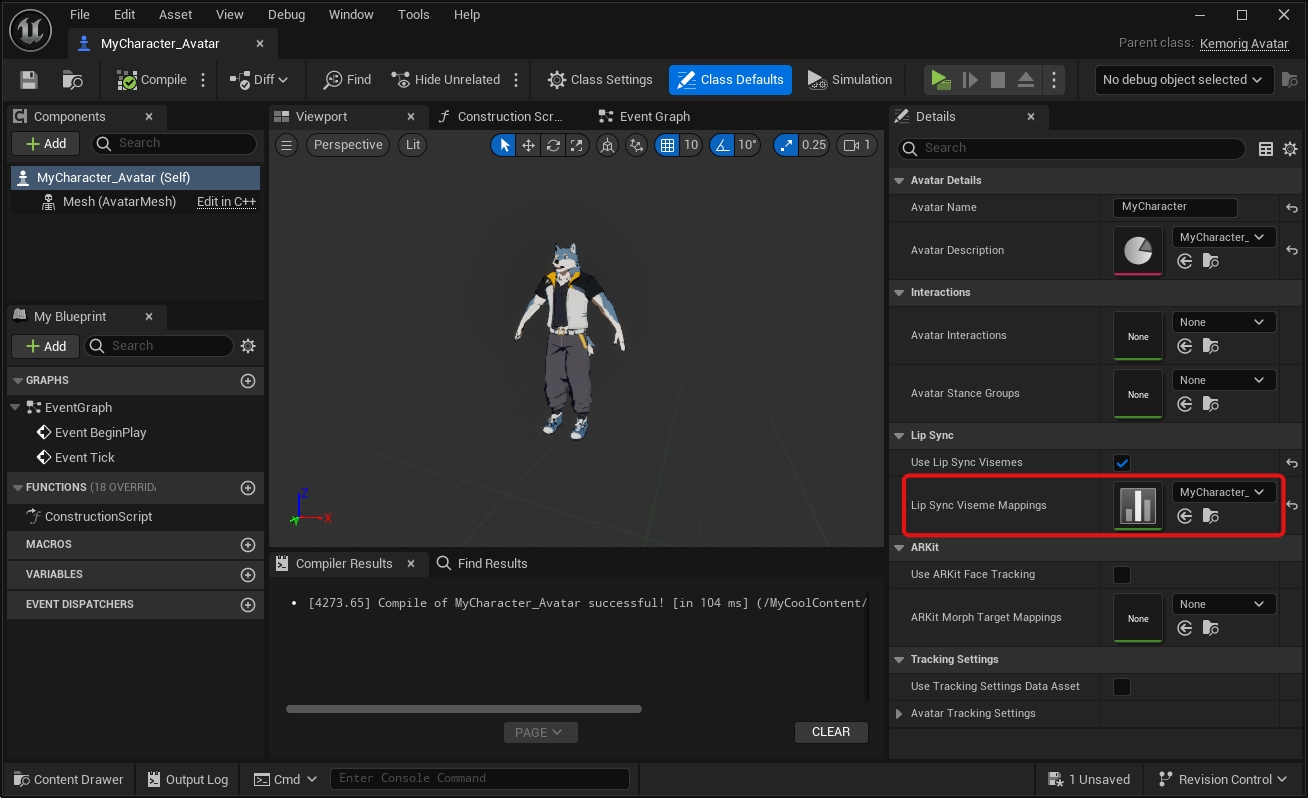
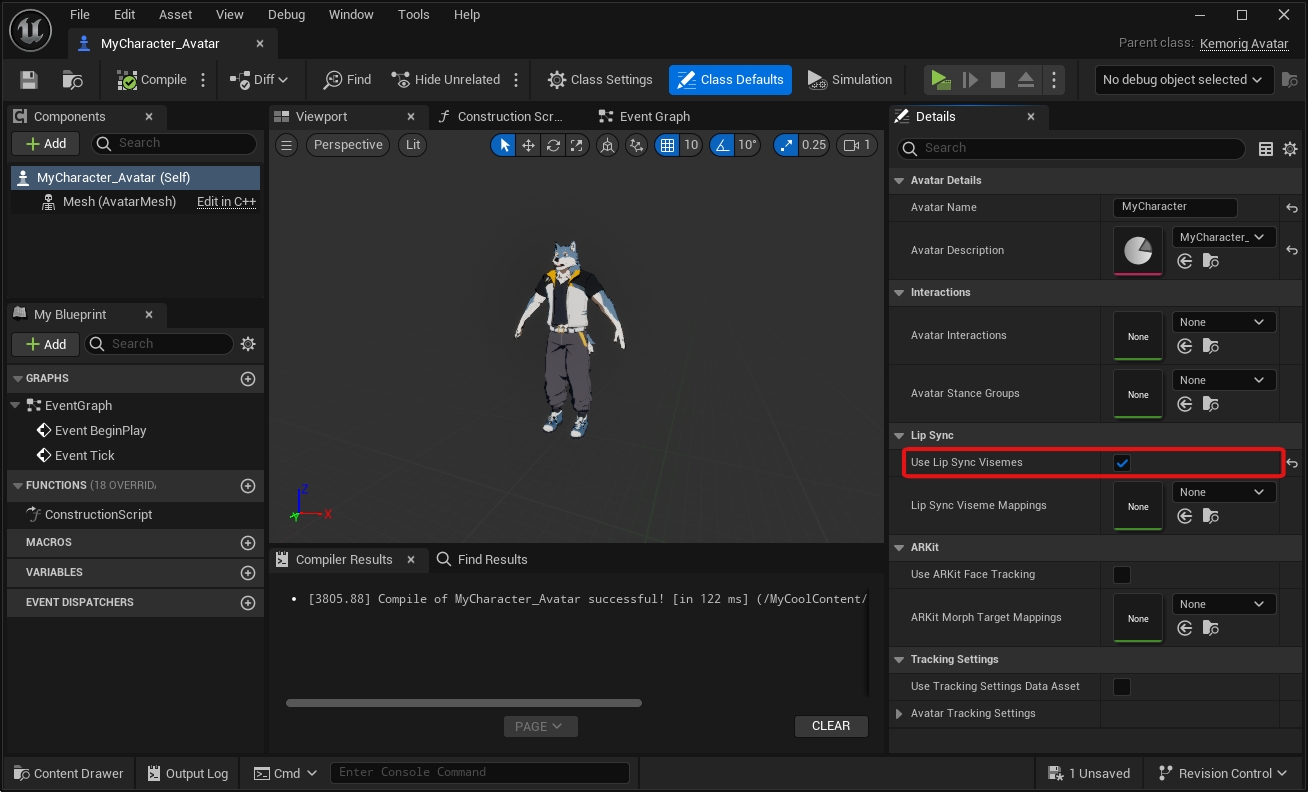
Enable Lip Sync in your Avatar
Open your avatar blueprint and navigate to the Class Defaults.
In the Lip Sync category, enable Use Lip Sync Visemes.
Create a KemorigMorphTargetMapping DataTable
Now let’s create a DataTable to map our model’s morph targets with viseme names.
If your morph target names match the viseme names exactly, this file is optional. However, it's good practice to do this anyway, and you'll get extra control over each morph target.
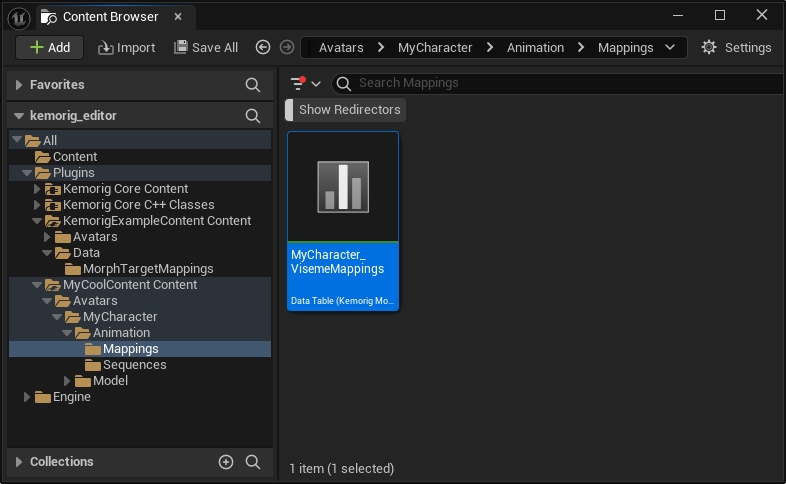
I like to put this file into the subfolder MyCharacter/Animation/Mappings/.
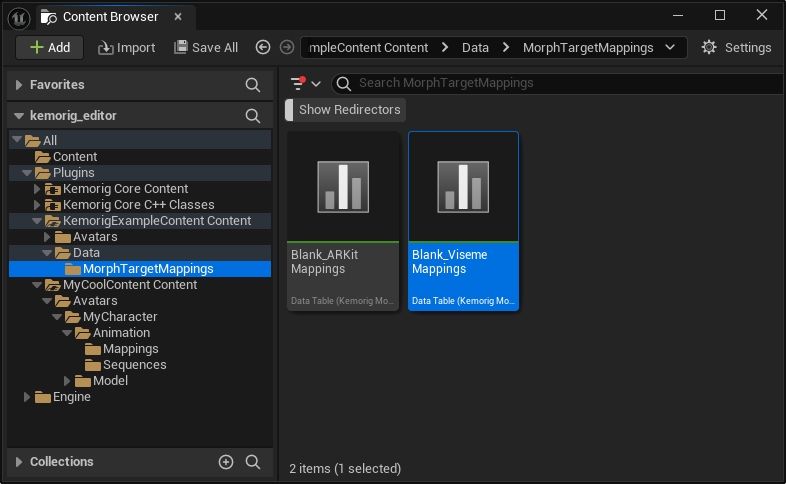
We could make this from scratch, but we’d have to enter a lot of data manually. Instead we can copy a blank example DataTable included with the project.
In the content browser, navigate to the folder KemorigExampleContent Content/Data/MorphTargetMappings/ and find Blank_VisemeMappings. Copy/Paste a copy of this into our folder and rename it.
In case you need to make it yourself, this DataTable uses the row struct KemorigMorphTargetMapping.
Populate the DataTable
Open your DataTable. You’ll see 15 rows (one for each viseme name).
For each row, enter the name of the corresponding morph target in your model.
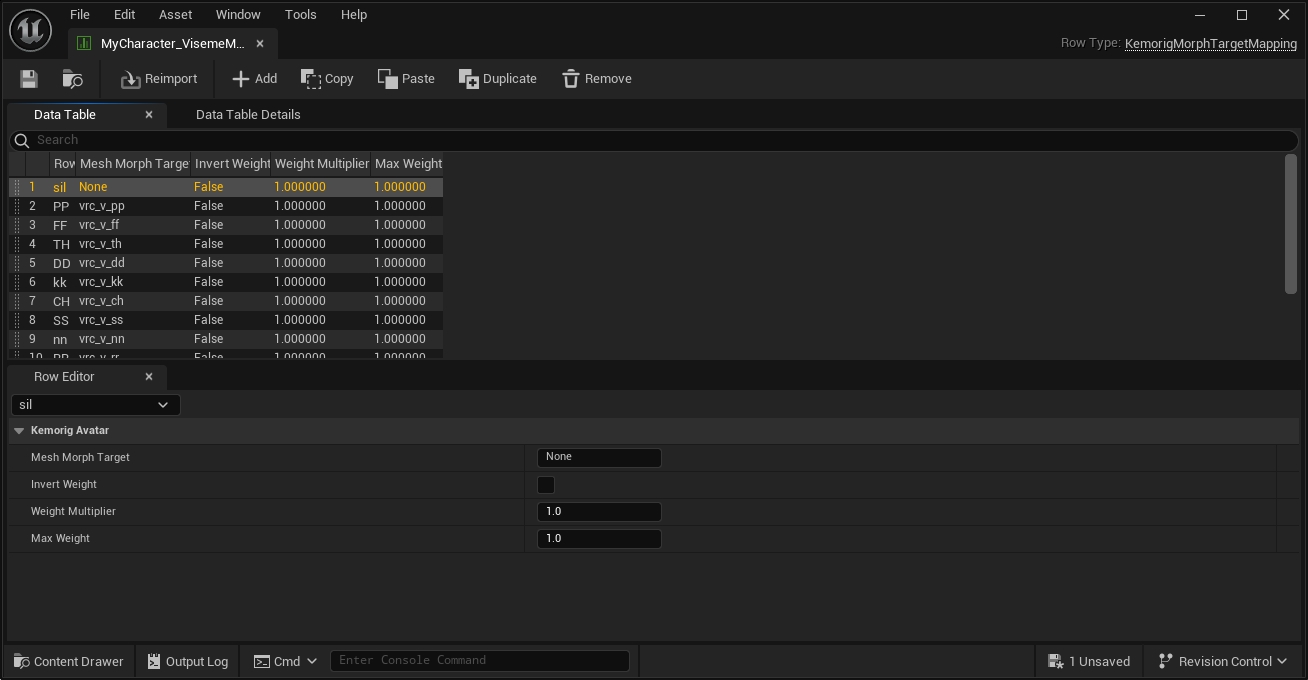
You’ll also notice a few additional options. You can leave these at their defaults, but they can come in handy with some models.
Set the DataTable in your Avatar blueprint
Go back to your avatar blueprint.
Right under where you enabled lip sync, there’s a field for ARKit Morph Target Mappings. Reference your DataTable here.