Blender - Building and Exporting Characters (FBX)
This guide goes over helpful information for building a character, and exporting that character for Unreal.
This is not a guide on how to model and rig a 3D character. This is supplemental information specific to building Unreal characters in Blender.
Armature Setup
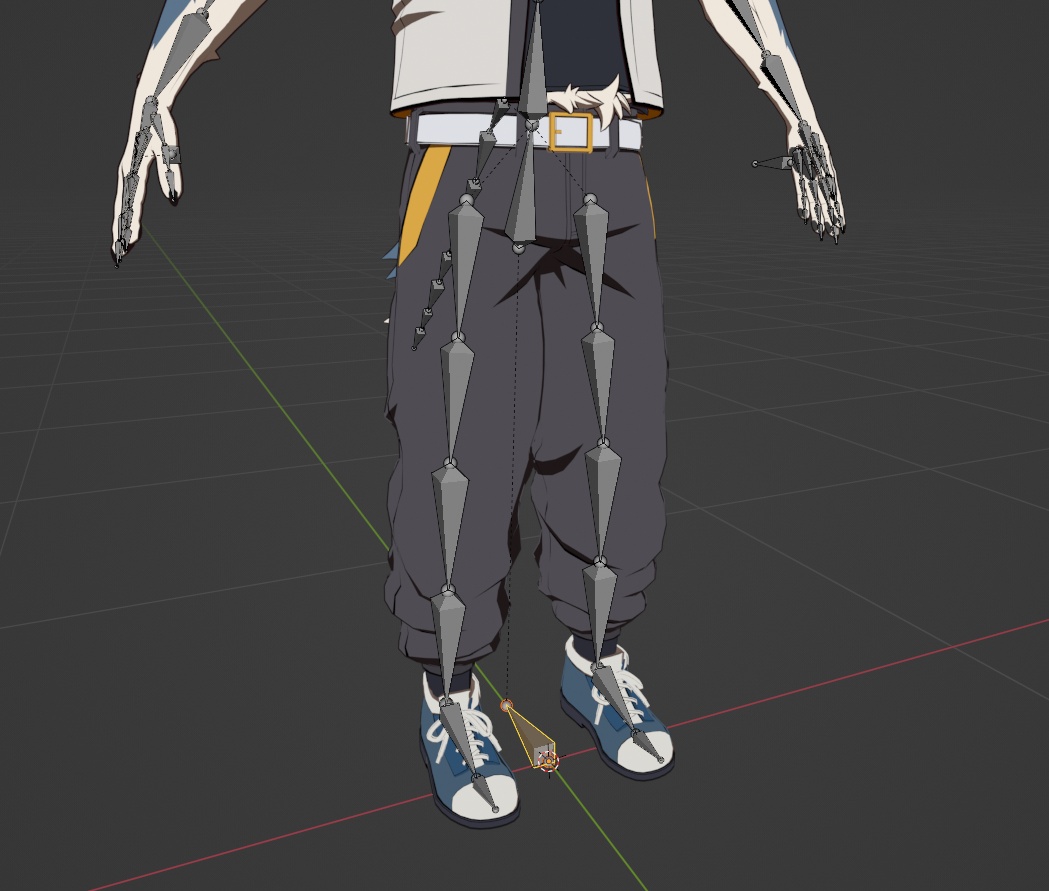
In Blender, an “armature” is an object containing a bone heirarchy. For your character to move, you will need to create an armature and bind your mesh to it.
Deform Bones vs Control Rig
When creating an armature for a character, there are two concepts to keep in mind:
The Deform Bones (i.e. the character’s skeleton)
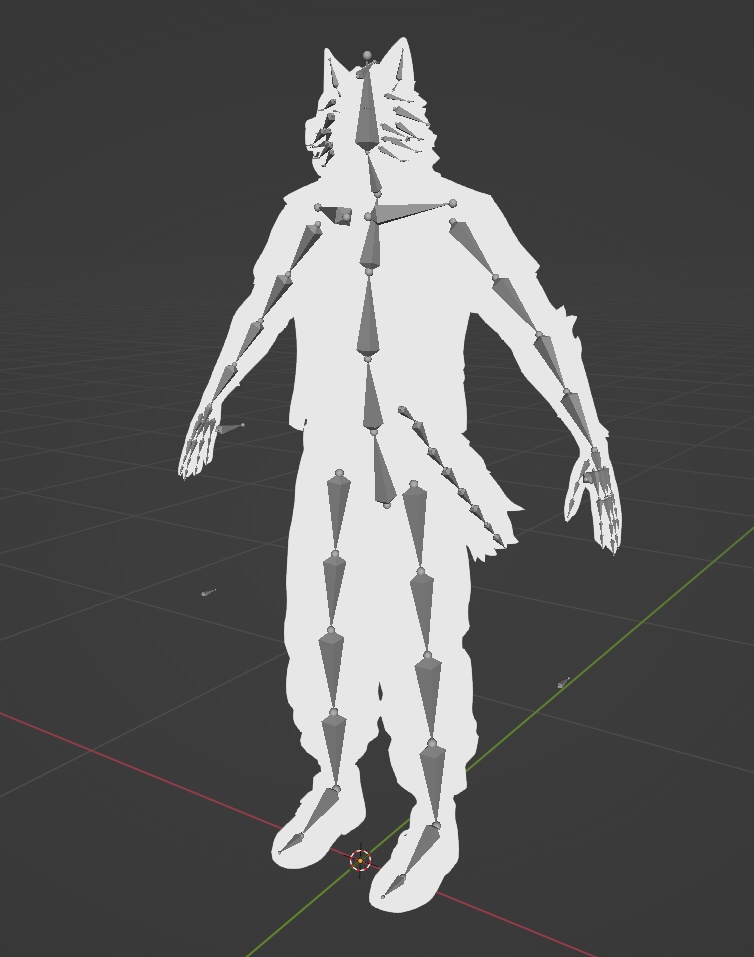
- These are the bones that you will export into Unreal.
- Typically they all deform part of the mesh when they move (though not necessarily).
The Control Rig
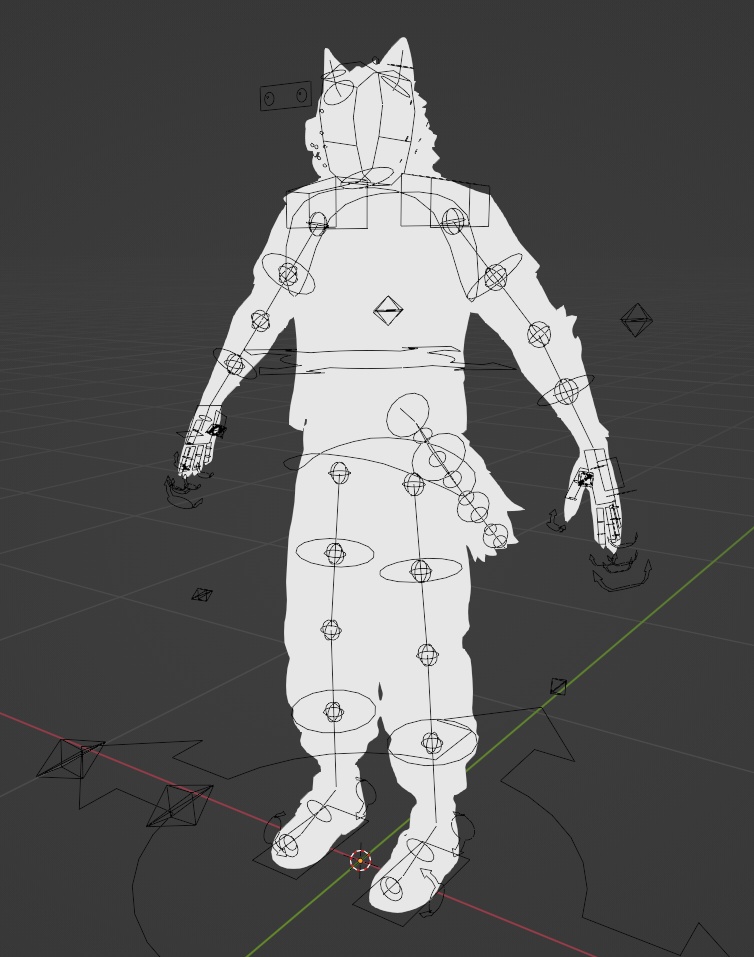
- These bones should NOT be exported into Unreal.
- They are the controls you use to animate your character in Blender.
- They do not deform the mesh directly – they only move other bones.
Marking Bones as Deform Bones
In Edit Mode for your armature, select a bone, and on the right side of the screen go to Bone Properties > Deform to specify whether the bone is deforming or not.
When this is checked, you’re telling Blender this is a bone you will export in the FBX.
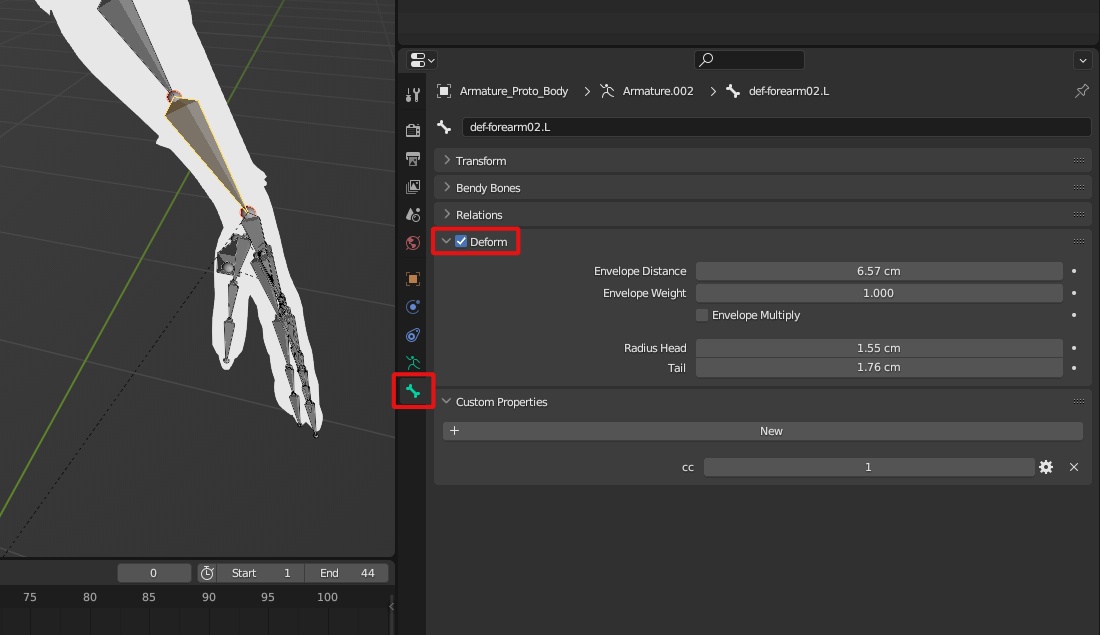
Be careful to uncheck this box for any bones in your control rig, or else you will export them with your FBX unnecessarily.
Add a Root Bone at the Floor
A good practice that I highly recommmend is adding a root bone to your armature at the origin. As part of this, I highly recommend the origin is at the floor, and the character stands above it.
This is standard-practice in games and has numerous advantages:
- When you position your character in Unreal, the origin of your character is perfectly aligned with the floor.
- You can animate the entire character without moving the root bone. This avoids complications with root motion in Unreal.
- You can add miscellaneous bones as children of the root, without being a child of the hip. Things like IK bones, or item bones, that may want to align with the world.
Shape Keys (AKA Morph Targets, Blendshapes)
You will need to use Shape Keys for lip sync and ARKit animation.
For info on authoring Blender Shape Keys, see Blender’s documentation.
Meshes with Shape Keys Cannot Have Modifiers Applied
Be careful when using modifiers on your character, because they cannot be applied on a mesh that has Shape Keys.
This is an issue, because in order for the results of your modifier to be exported, it must be applied (either manually, or during the export process).
If you need to use modifiers, you have some options:
- Split your character into multiple mesh objects - You can export multiple meshes in your FBX. You may choose to have the head as a separate mesh in Blender.
- Apply modifiers before working on Shape Keys - Plan ahead. Finalize your character’s mesh and apply your modifiers before authoring its Shape Keys.
Exporting FBXs
When exporting for a game engine like Unreal, it’s highly recommended to keep keep your character and any animations in separate fbx exports.
It is possible for one FBX file to contain meshes, skeletons, and animations all in one, but this is difficult to work with. It is much easier to iterate on your character and animations in Unreal when they are all in separate files. That way, you can re-import your character without affecting your animations, re-import 1 animation you modify, or add 1 new animation without bundling a bunch of other animations together.
The PROTO Profiles and Options add-on makes is designed around this workflow, and helps you export correclty.
Exporting Your character
Your character FBX export should include:
- The final Mesh
- The Armature
Exporting An animation
An animation FBX export should include:
- The Armature
- If animating Shape Keys, any Mesh that uses those Shape Keys.
Most of the time, you just export the Armature. Animating Shape Keys in an animation FBX is not something that most VTubers need to do.
Next Steps
For help importing your character into Unreal, see this page:

Importing Models
Tips on importing models into Unreal